


Send documentation comments to mdsfeedback-doc@cisco.com.
16-8
Cisco MDS 9000 Family Fabric Manager Configuration Guide
OL-6965-03, Cisco MDS SAN-OS Release 2.x
Chapter 16 Inter-VSAN Routing Configuration
Modifying IVR
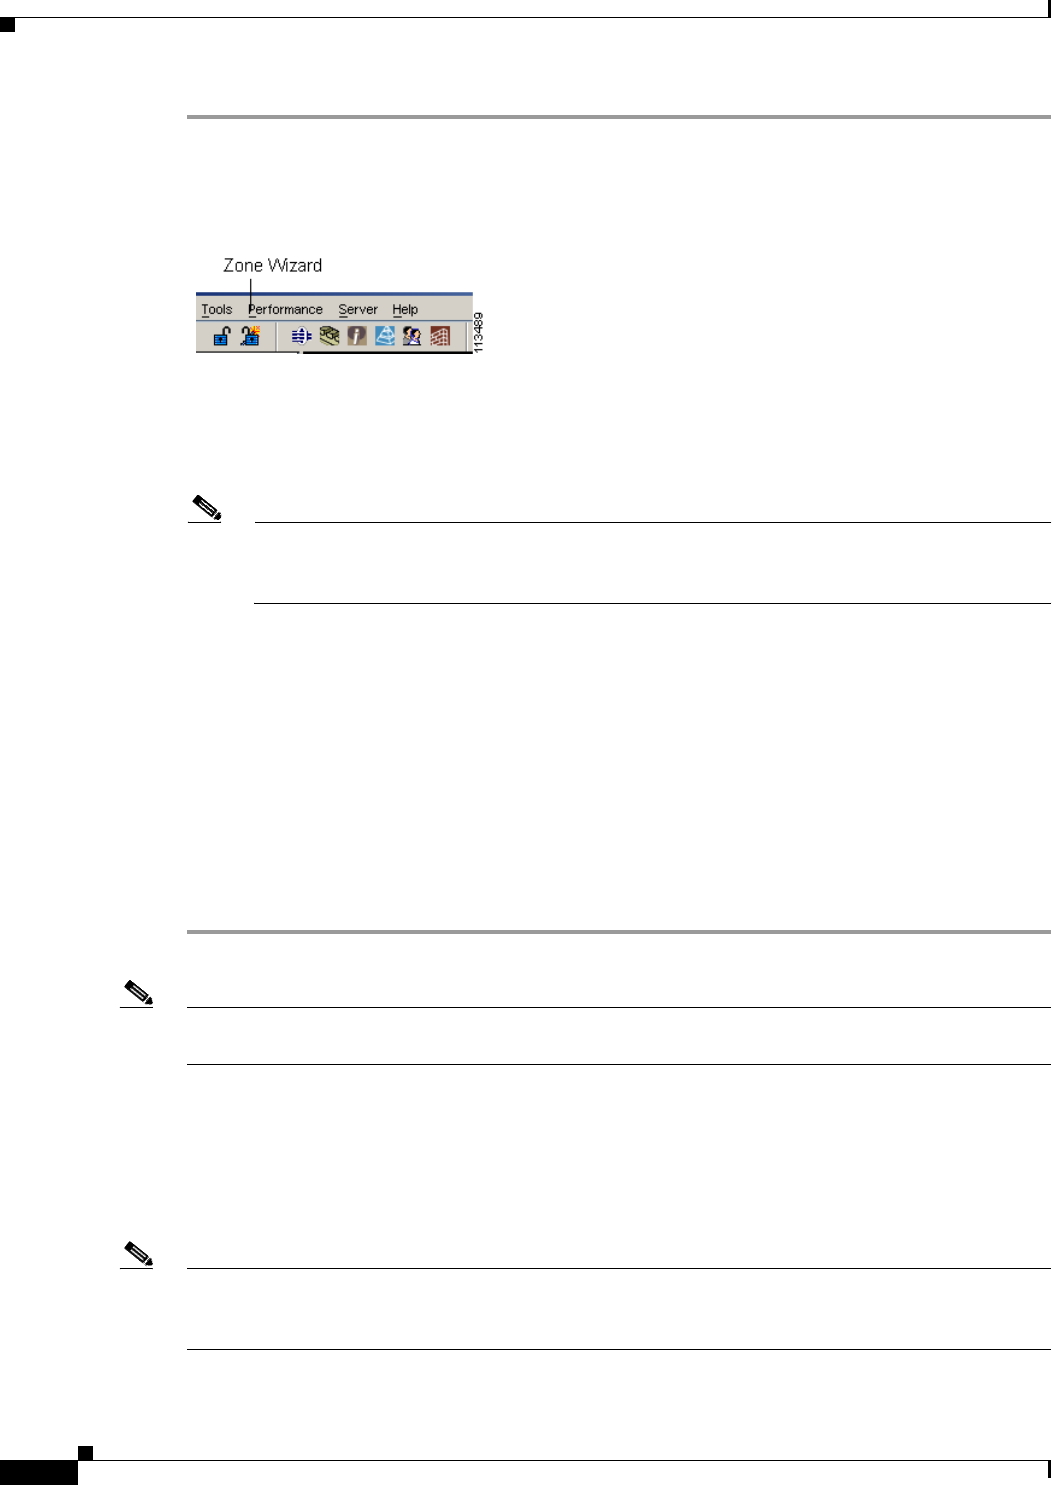
Step 1 From Fabric Manager, click the IVR Zone Wizard icon in the Zone toolbar. Figure 16-2 shows the IVR
Zone Wizard icon.
Figure 16-2 IVR Zone Wizard Icon
You see the IVR Zone Wizard.
Step 2 Select the VSANs that will participate in IVR in the fabric.
Step 3 Select the end devices that you want to communicate over IVR.
Note If you are not using IVR NAT, Fabric Manager may display an error message if all the switches
participating in IVR do not have unique domain IDs. You must reconfigure those switches
before configuring IVR.
Step 4 If you enable IVR NAT, verify switches that Fabric Manager will enable with IVR NAT, CFS for IVR,
and IVR topology in auto mode.
Step 5 Optionally, configure a unique AFID for switches in the fabric that have non-unique VSAN IDs in the
Select AFID dialog box.
Step 6 If you did not enable IVR NAT, verify the transit VSAN or configure the transit VSAN if Fabric Manager
cannot find an appropriate transit VSAN.
Step 7 Set the IVR zone and IVR zone set.
Step 8 Verify all steps that Fabric Manager will take to configure IVR in the fabric.
Step 9 Click Finish if you want to enable IVR NAT and IVR topology and create the associated IVR zones and
IVR zone set, or click Cancel to exit the IVR Wizard without saving any changes.
Note IVR NAT and auto-topology can be configured independently if you configure these features outside the
IVR Zone Wizard. See the “Modifying IVR” section on page 16-8.
Modifying IVR
You can modify IVR using the IVR tables in the Information pane in Fabric Manager. Use these tables
only if you are familiar with all IVR concepts. We recommend you configure IVR using the IVR Wizard.
Note Most tabs in the Information pane for features using CFS are dimmed until you click the CFS tab. The
CFS tab shows which switches have CFS enabled and shows the master switch for this feature. Once the
CFS tab is clicked, the other tabs in the Information pane are activated.