


Polycom® RealPresence Collaboration ServerVirtual Edition Administrator’s Guide
12-10 Polycom, Inc.
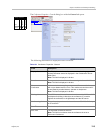
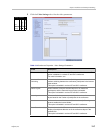
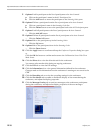
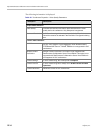
9 Optional. Add a participant to the list of participants to be Auto Scanned:
a Click on the participant’s name in the All Participants list.
b Click the Add button to move the participant to the Scanning Order pane.
10 Optional. Delete a participant from the list of participants to be Auto Scanned:
a Click on a participant’s name in the Scanning Order list.
b Click the Delete button to move the participant back to the All Participants pane.
11 Optional. Add all participants to the list of participants to be Auto Scanned:
— Click the Add All button.
12 Optional. Delete all participant from the list of participants to be Auto Scanned:
— Click the Delete All button.
13 Optional. Move the participant up in the Scanning Order:
— Click the Up button.
14 Optional. Move the participant down in the Scanning Order:
— Click the Down button.
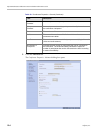
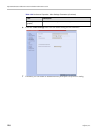
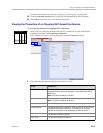
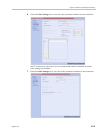
15 Click the Apply button to confirm and keep the Conference Properties dialog box open.
or
Click the OK the button to confirm and return to the Collaboration Server Web Client
Main Screen.
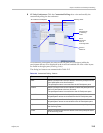
16 Click the Skins tab to view the skin selected for the conference.
You cannot select another skin during an ongoing conference.
17 Click the IVR tab to view the IVR settings.
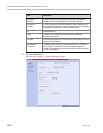
18 Click the Information tab to view general information defined for the conference.
Changes made to this information once the conference is running are not saved to the
CDR.
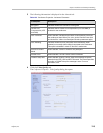
19 Click the Recording tab to review the
recording settings for the conference.
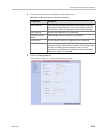
20 Click the Site Names tab to enable or disable the display of site names during the
conference, and adjust the display properties.
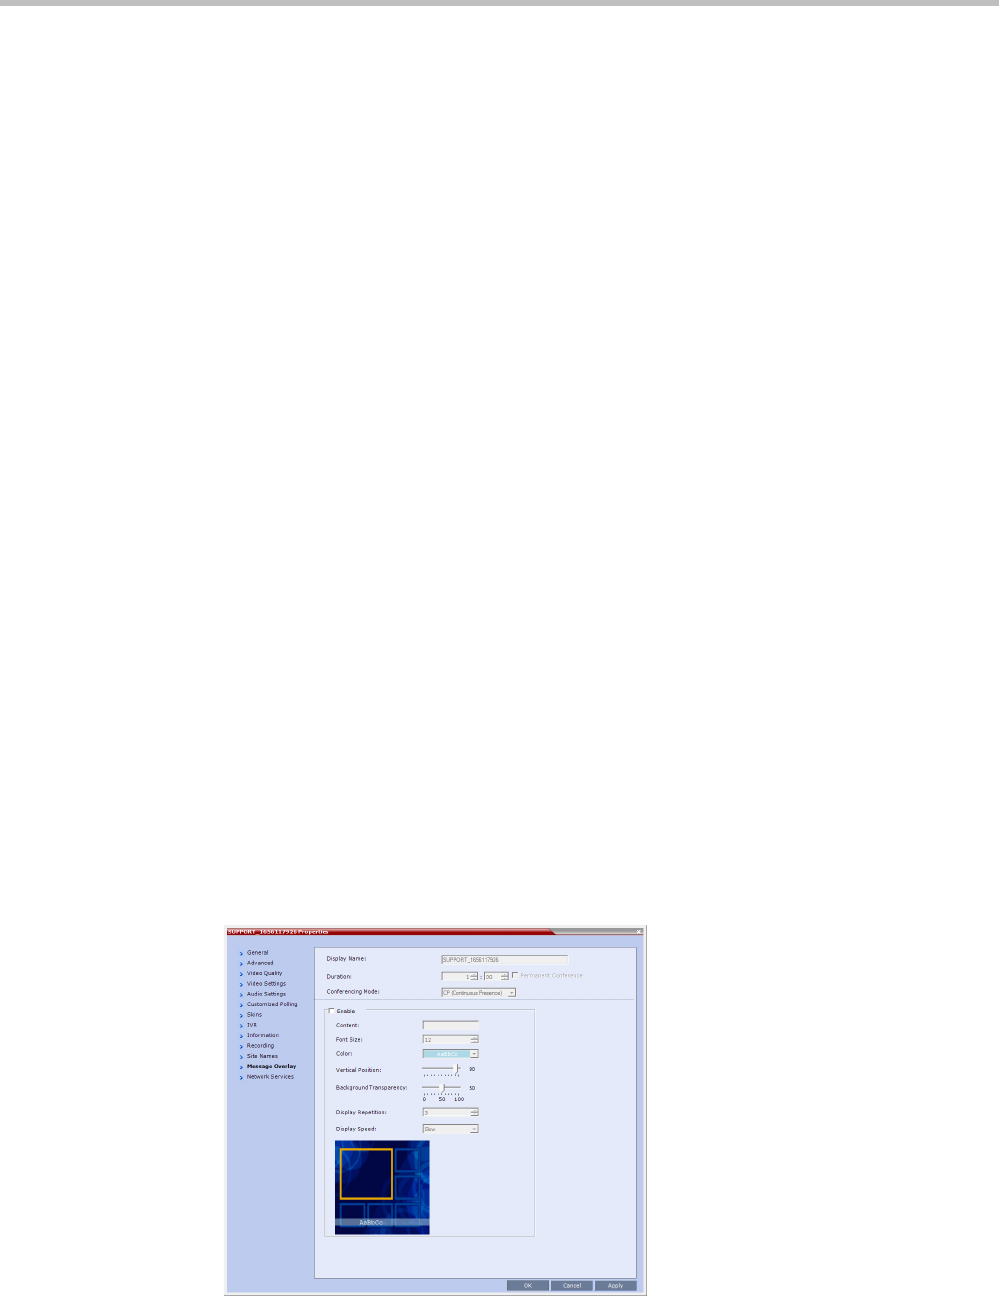
21 Click the Message Overlay tab to send text messages to the conference participants
during the conference, and adjust the display properties of the text messages.