Reference Manual
IP2030/RM, Rev AA
Section 4: Getting started
June 2014
Section 4: Getting started62
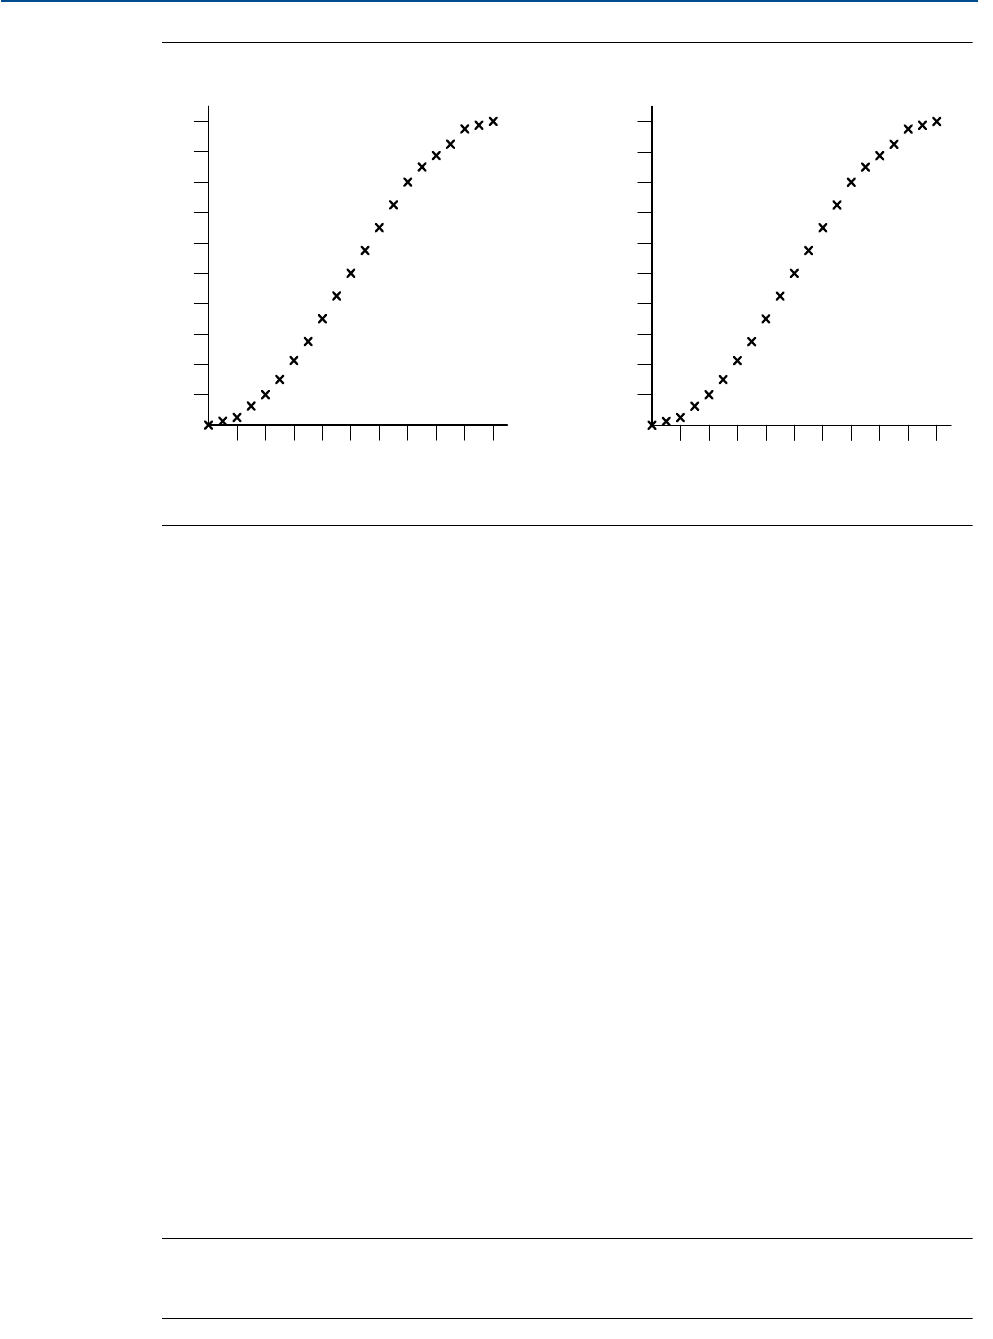
Figure 4-22. Examples of plotted profile for a spherical vessel
How to edit the 'look-up' table (P115/P125)
1. Parameter P113/P123 must first be set to be “Special”.
2. Navigate to the P115/P125 parameter screen (see Figure 4-21 on page 61).
3. Press the red (ENTER) button once to select point 0.
Before editing, you can use the DOWN-ARROW button to page down to another point
or use the Esc button to return to the menu.
4. With X0: highlighted, use the RIGHT-ARROW button to move across to the X0 value.
5. Use the UP-ARROW or DOWN-ARROW buttons to edit the X0 value.
6. Press the red (ENTER) button once to confirm the new X0 value.
7. With Y0: highlighted, use the RIGHT-ARROW button to move across to the Y0 value.
8. Use the UP-ARROW or DOWN-ARROW buttons to edit the Y0 value.
9. Press the red (ENTER) button once to confirm the new Y0 value.
10. To edit X0 and Y0 again, return to step 2. Otherwise, use the DOWN-ARROW button to
display the page with X1 and Y1 or use the Esc button to return to the menu.
11. Repeat for all points in the profile.
An X point with 0.0 terminates the profile (unless it is point X0, Y0).
Note
The Esc button can be used during editing to abort and restore the original values; it
needs to be pressed again to move back to the 'X' or 'Y' text
0.1
0.2
0.3
0.4
0.5
0.6
0.7
0.8
0.9
1.0
0.1 0.2 0.3 0.4 0.5 0.6 0.7 0.8 0.9 1.0
0.0
Y
X
200.0
400.0
600.0
800.0
1000.0
1200.0
1400.0
1600.0
1800.0
2000.0
0.4 0.8 1.2 1.6 2.0 2.4 2.8 3.2 3.6 4.0
0.0
Y
X
Normalized units (range 0.0 to 1.0) Actual level (X) and volume (Y) units
