46 www.honeywell.com
Configuring via the Web Server
Configuring the System
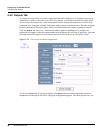
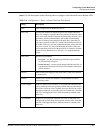
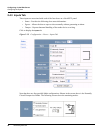
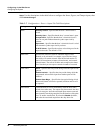
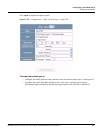
Steps to create an access level:
1. Select the door(s). The access level will allow access only at the door(s) you select here.
2. Enter the name of the access level in the
Name field. This should be a unique name that
identifies the general user group.
3. Select the time zone you want from the drop down list in the
Time Zone field. The access level
will allow access to the card holder only during this time zone.
4. Click the
Add Level button.
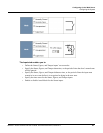
Steps to assign a Time Zone to a door:
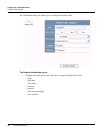
1. Select the checkbox next to the door you desire. The Time Zone field appears.
2. From the Time Zone dropdown list, select the Time Zone you want to assign to the door. Note
that a Time Zone must be configured in Configuration > Time Management before it appears in
the dropdown list.
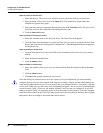
Steps to modify an access level:
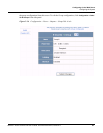
1. From the drop down list in the Level field, select the number of the access level you want to
modify.
2. Make the desired modifications.
3. Click the
Modify button.
Steps to delete an access level:
1. Select the number of the access level you want to delete from the drop down list in the
Level
field.
2. Click the
Delete button.
3. Click
OK at the prompt to delete the access level.
Note that when you create an access level for a panel in a loop configuration, you must manually
configure this access level at each panel in the loop. For example, suppose you have three panels in a
loop, and you add a Master Access level to panel 1 and you configure readers 1-4 on panel 1 with this
access level. When you save the access level configuration at panel 1, the access level is automatically
copied to panels 2 and 3. However, the readers at panels 2 and 3 are not yet configured. So you still
must go to panels 2 and 3 to assign the access level to the readers at these panels. To do this, navigate
back to the Select Panel on the NetAXS™ main screen, select the next panel in the loop, and configure
that panel’s doors according to the instructions in this section.


