


Recording
47
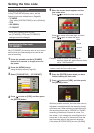
Turning off the LCD monitor screen
(LCD OFF)
The LCD monitor screen can be turned off.
1
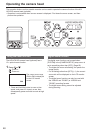
While pressing the [SHIFT/EXEC] button,
press the [USER] button.
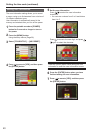
Press the same buttons again to cancel the •
setting.
The setting is canceled when the power is •
turned off.
When the LCD monitor screen is off, in •
addition to the buttons for turning the screen
back on, the [POWER] button and [REC/
PAUSE] button can also be operated.
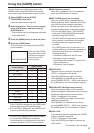
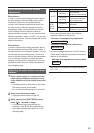
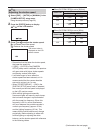
Adjusting the recording level of the
input audio (MIC LEV)
The recording level of the input audio from the
microphone connector can be adjusted.
1
While pressing the [SHIFT/EXEC] button,
press the [AUDIO MON/ADV + ] or
[AUDIO MON/ADV - ] button.
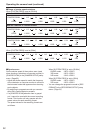
AUDIO MON/ADV + : Raises the input level.
AUDIO MON/ADV - : Lowers the input level.
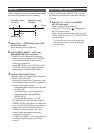
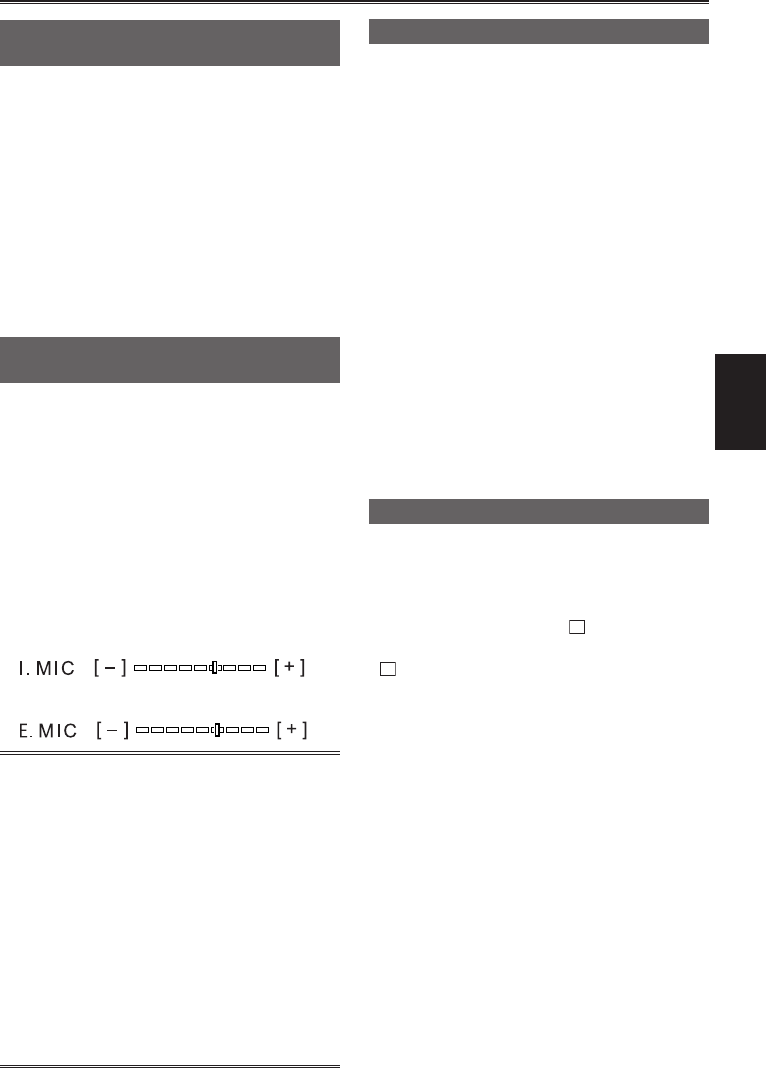
While adjusting, refer to the level display for
microphone input adjustment on the LCD
monitor screen.
<When the AG-HCK10G camera head is connected>
<When the microphone connector is connected>
Check the recording volume level prior to •
shooting.
The recording level is set approximately 8 dB •
higher than Panasonic broadcasting camera-
recorders (AJ series products).
When an external microphone is connected •
to the microphone terminal, the input audio
switches automatically to the external
microphone.
When an external microphone is not •
connected to the microphone terminal, the
input audio is selected as follows.
CAM mode: Built-in microphone of the AG-
HCK10G camera head (optional)
SDI mode: HD-SDI embedded audio signal
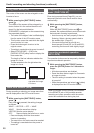
Color bar
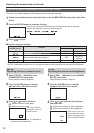
By selecting [INT SG] → [ON] in the [RECORDING
SETUP] setup menu, you can display a color bar
during REC mode, which is useful when adjusting
the image quality of a television or external
monitor.
While the color bar is displayed, a test tone of •
1 kHz
∗
will be output from the headphone
terminal and built-in speaker. (However, in
CAM mode there is no output from the built-in
speaker.)
∗
When [SYSTEM FREQ] is set to [50Hz],
a test tone of 997 Hz is output.
The color bar can be recorded by pressing the •
[REC/PAUSE] button.
The function is not canceled even when •
the power is turned off. To cancel the color
bar display, select [INT SG] → [OFF] in the
[RECORDING SETUP] setup menu.
To output the color bar from the SDI OUT
terminal, select [SDI EE SEL] → [NORMAL] in
the setup menu [AV OUT SETUP].
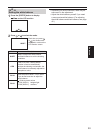
Time stamp function
The date and time of recording can be recorded on
the video images.
Select [TIME STAMP] → [ON] in the [RECORDING
SETUP] setup menu.
When [TIME STAMP] is [ON],
R
is displayed on
the LCD monitor.
R
• itself is not recorded on the video images.
The size and position of the date and time •
characters recorded on the image will vary
depending on the recording format.
The size and position of the date and time •
characters recorded on the image in external
output displays may vary from the displays on the
LCD monitor.
The recorded date and time display will follow the •
[DATE/TIME] setting in [DISPLAY SETUP].
When [DATE/TIME] is set to [OFF], the date and
time of recording are not recorded even if [TIME
STAMP] is set to [ON].
To avoid date and time displays overlapping •
when clips with time stamps recorded are played
with this portable recorder, select [DATE/TIME]
→ [OFF] in the [DISPLAY SETUP] setup menu.