


Chapter 2: Installation
Unpacking the Controller 2-3
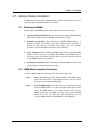
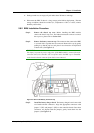
2.4.3 General Installation Procedure
If the steps listed below are followed, the installation of the SR controller should be
smooth and efficient. Detailed, illustrated instructions for each step are given in the
following sections.
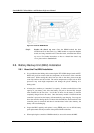
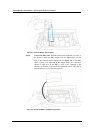
CAUTION:
To ensure that the system is correctly installed, please follow the steps outlined below.
If these steps are not followed, the hardware may accidentally be installed incorrectly.
Step 1. Unpack. Unpack the SR controller and make sure that all the components
that are meant to come with the subsystem have indeed arrived. (See
Section 2.5)
Step 2. Install the DIMM module. The SR controller does not come with pre-
installed DIMM modules. Separately purchased DIMM modules need to
be installed. (See Section 2.7)
Step 3. Install the optional BBU. Install the optional BBU prior to operating the
SR controller. (See Section Error! Reference source not found.)
Step 4. Install the optional daughter board. If you require more than two SCSI-
320 I/O channels, the optional daughter board with the appropriate
expansion channels must be installed. (See Section 2.9)
Step 5. Rack/Cabinet installation. Install the SR controller into an appropriate
cabinet or rack.
Step 6. Connect the host. Connect the user-configured host channels to the host
computer.
Step 7. Connect the drives. Connect the user-configured drive channels to the
hard drives.
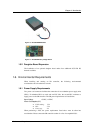
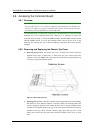
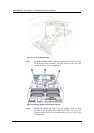
2.5. Unpacking the Controller
NOTE:
A detailed packing list is located in Appendix D of this manual.
When unpacking the controller, please ensure that all of the items listed on the unpacking
list that came with the controller are present. If any of the listed items are missing, please
contact the controller vendor immediately. A complete unpacking list is given in
Appendix D.