


[Table of Contents] [Previous Page] [Next Page]
6. PRECAUTIONS TO BE HEEDED WHEN ASSEMBLING AND MOVING THE
MACHINE
WARNING:
1. Perform the assembly work by following the procedure herein stated. Failing to comply with the
instructions, for example, inserting the plug into an outlet at the stage not mentioned in this
manual might cause an electric shock accident.
2. Assembling should be performed as per this manual. Since this is a complex machine, erroneous
assembling may cause damage to the machine, or malfunctioning to occur.
3. When assembling, be sure to perform the work by plural persons.
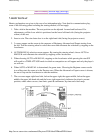
When carrying out the assembly work, follow the procedure in the following 7-item sequence:
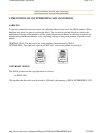
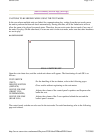
1. ASSEMBLING THE PTV
2. ASSEMBLING THE CABINET
3. CONNECTING THE CABINET AND PTV
4. POWER SUPPLY, AND EARTH CONNECTION
5. TURNING THE POWER ON
6. ASSEMBLY CHECK
7. SECURING TO THE INSTALLATION POSITION (LEG ADJUSTER ADJUSTMENT)
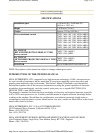
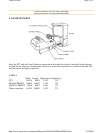
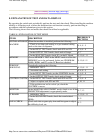
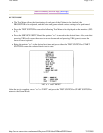
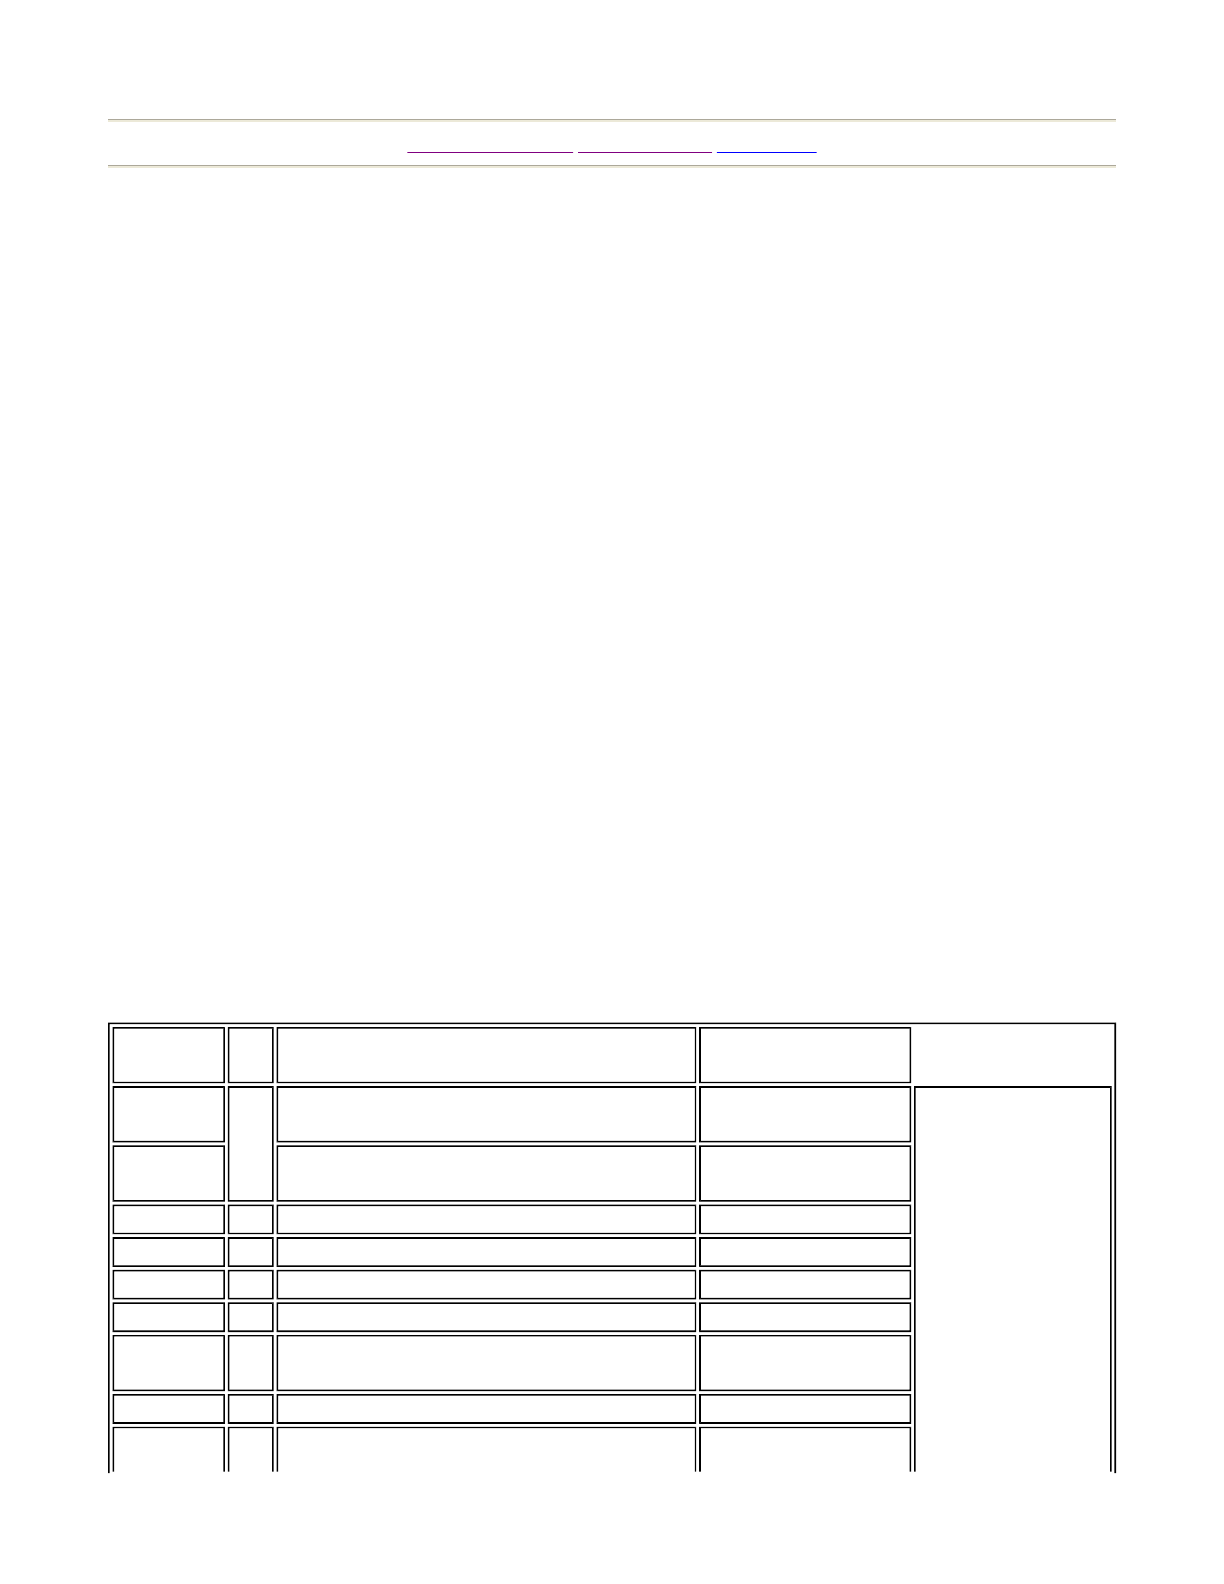
Before starting assembly work, check to see if the parts, screws, etc. mentioned in the following Table
are all available. Also, note that the master key (an accessory) in addition to the tools such as a plus
screwdriver, wrench for M18 hexagon bolt and socket wrench is required for the assembling work.
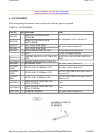
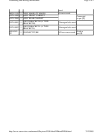
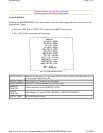
TABLE 6.1 PARTS LIST
PART
NO.
Q/U DESCRIPTION REMARKS
200-5264
1
PROJECTION DISPLAY 50 H 24K
HITACHI
2 screws used.
Assembled
as per
[1]
200-5265
PROJECTION DISPLAY 50 M 24K
MITSUBISHI
2 screws used.
DYN-0501 1 PANEL MOUNT BRKT L 2 screws used.
DYN-0502 1 PANEL MOUNT BRKT
R
2 screws used.
DYN-0550 1 ASSY BILLBOARD 3 screws used.
DYN-0600 1 ASSY FRONT PANEL 4 screws used.
MGL-1104 2 MASK HOLDER
A total of 6 screws
used.
MGL-1105 1 TOP BRKT 3 screws used.
MGL-1106 2 SIDE BRKT
A total of 4 screws
Pa
g
e 1 of 2Assemblin
g
and Movin
g
the Machine
7/12/2005htt
p
://www.sauservice.com/manuals/Da
y
tona%20Folder/DDhtml/DD06.html