


27
Network settings of the unit
To control a remote camera connected via an IP connection from the
unit, you need to set the network settings of the unit.
Correct operation is not possible if the same IP address already
exists in the same network.
Set IP addresses that are not duplicates of any existing IP
addresses.
Note
Setting the IP address of the unit
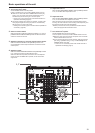
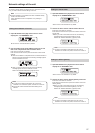
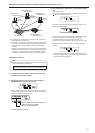
1. Open RP SETUP menu [25] and turn the F1 dial to
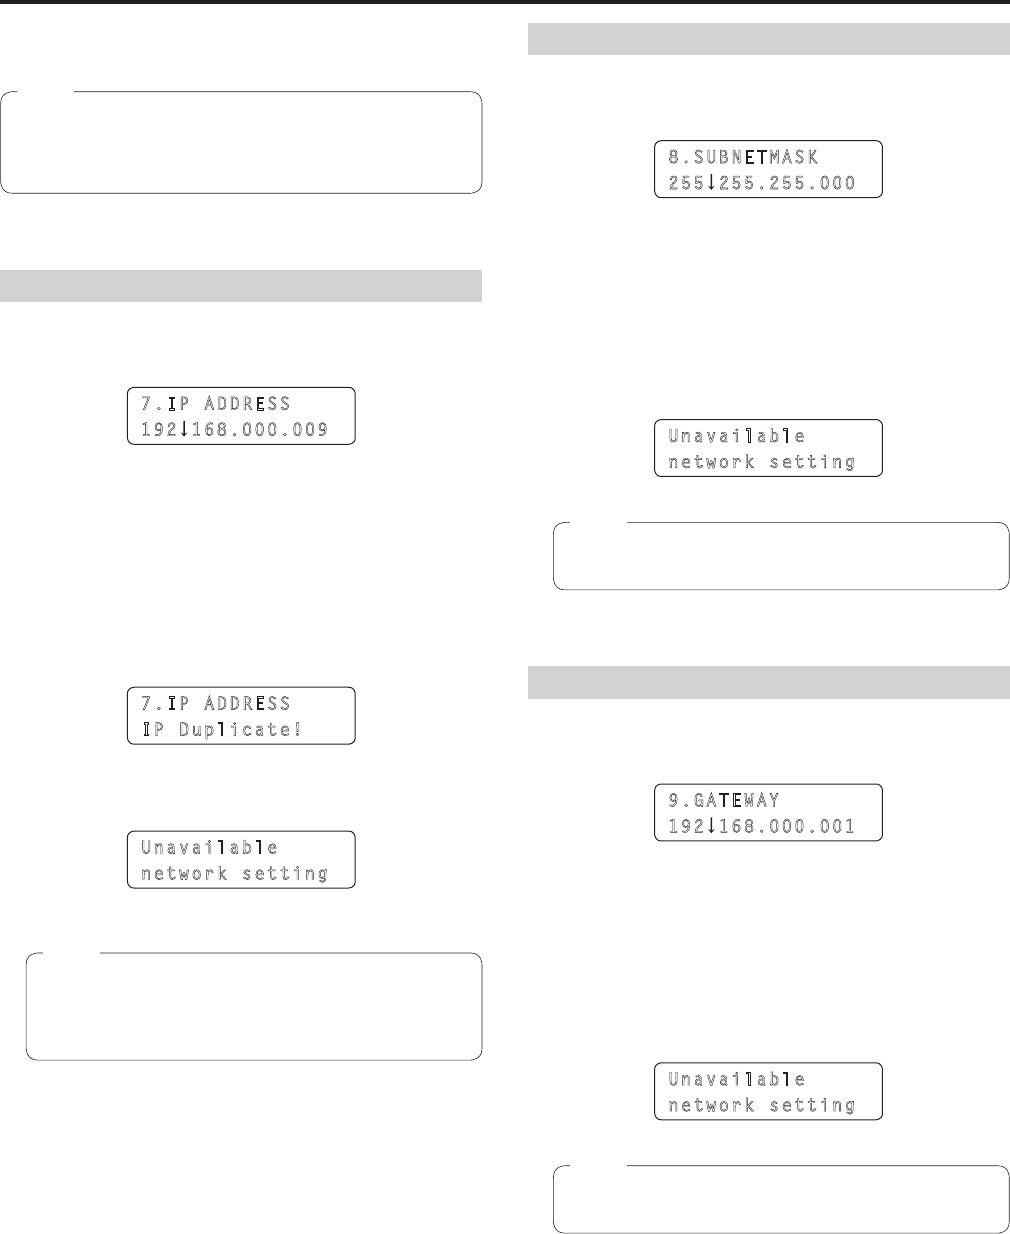
display the “7. IP ADDRESS” item.
7.IP ADDRESS
192 168.000.009
This is set to “192.168.000.009” by default.
2. Use the F2 dial to set the IP address of the unit to one
that is not a duplicate of that of another device.
Enter this in four blocks of numerals.
Enter all of the blocks and then press the F2 dial to confirm the IP
address.
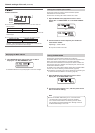
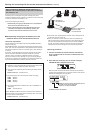
When the IP address is a duplicate of that of a remote camera or
switcher connection destination, the following message appears
and the IP address is not set.
7.IP ADDRESS
IP Duplicate!
When you enter a value that cannot be set, the following
message appears and the IP address is not set.
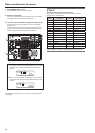
Refer to the “Settable addresses” (page 28) memo.
Unavailable
network setting
In order for the setting to take effect, the unit must be
restarted. Turn off the unit’s power, and then turn it back on.
Consult the network administrator before setting the IP
address.
Notes
Setting the subnet mask
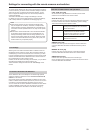
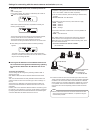
1. Open RP SETUP menu [25] and turn the F1 dial to
display the “8. SUBNETMASK” item.
8.SUBNETMASK
255 255.255.000
This is set to “255.255.255.000” by default.
2. Use the F2 dial to set the subnet mask of the unit.
Enter this in four blocks of numerals.
Enter all of the blocks and then press the F2 dial to confirm the
subnet mask.
When you enter a value that cannot be set, the following
message appears and the subnet mask is not set.
Refer to the “Settable addresses” (page 28) memo.
Unavailable
network setting
In order for the setting to take effect, the unit must be
restarted. Turn off the unit’s power, and then turn it back on.
Note
Setting the default gateway
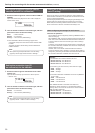
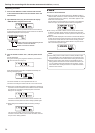
1. Open RP SETUP menu [25] and turn the F1 dial to
display the “9. GATEWAY” item.
9.GATEWAY
192 168.000.001
This is set to “192.168.000.001” by default.
2. Use the F2 dial to set the default gateway of the unit.
Enter this in four blocks of numerals.
Enter all of the blocks and then press the F2 dial to confirm the
default gateway.
When you enter a value that cannot be set, the following
message appears and the default gateway is not set.
Refer to the “Settable addresses” (page 28) memo.
Unavailable
network setting
In order for the setting to take effect, the unit must be
restarted. Turn off the unit’s power, and then turn it back on.
Note