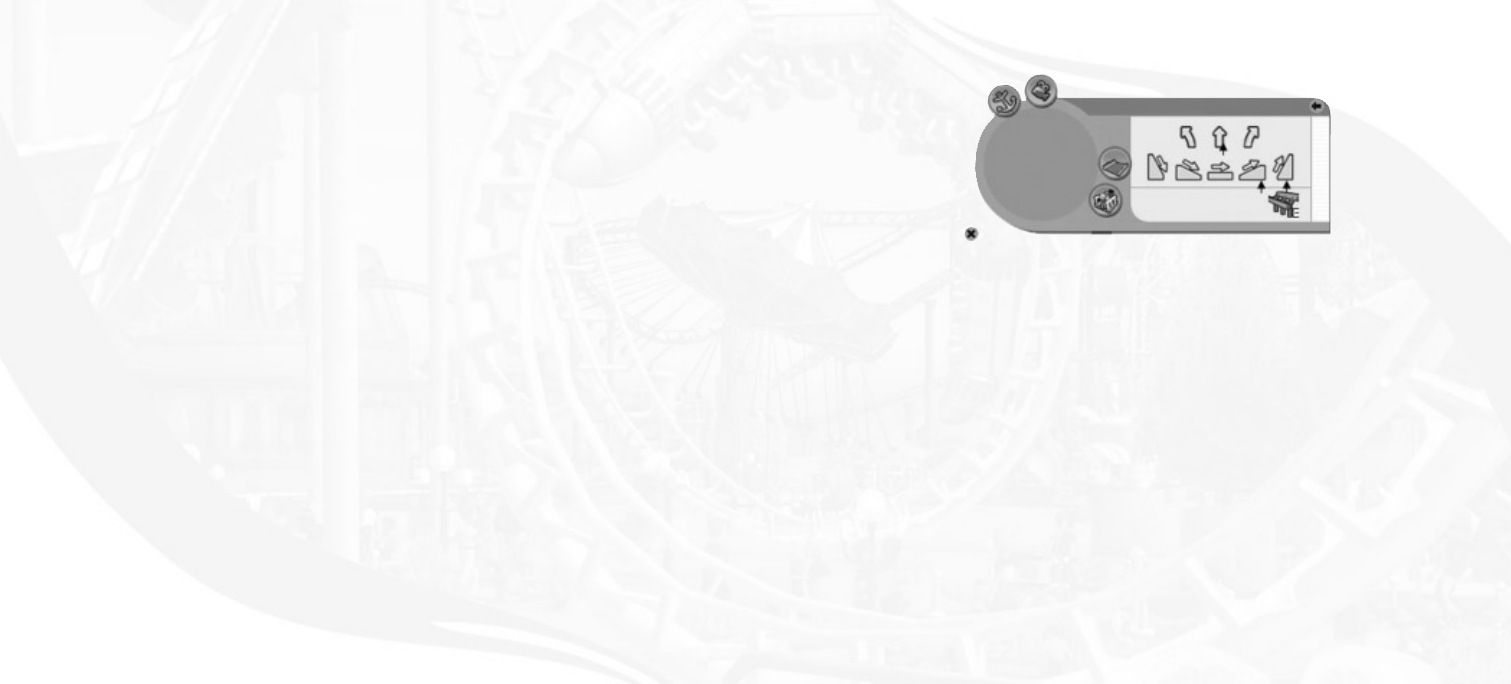
CREATING PATHS
Peeps and employees ordinarily wander throughout your amusement park on the paths you’ve laid
out for them. Make sure the terrain where you want build a path is mostly level.
Note: The
instructions for this section assume you are using the path building tools and have selected
a path texture design.
The paths you may place are:
•
Paths – Ground-level walkways that conform to the shape of the terrain.
•
Ramps – Sloping walkways that ascend or descend one meter or about three feet
(depending on your game option settings).
•
Stairs – Ascend or descend two meters or about six feet (depending on your game option
settings).
•
Platforms – Elevated walkways that are level and do not conform to the shape of the
terrain below.
•
Queue Paths – Peeps will only use these to queue up for rides and attractions. Queue
paths can be ground paths, ramps, stairs or platforms.
There are two ways to build paths: With the path-building toolbox; or in the classic “mouse-drag-
ging” mode. Each of these is described on the following page.
89
Saving and Loading
Click anywhere on a coaster to reveal the Ride Control panel, then click on the Information button.
Next, click on the Save button and follow the on-screen instructions for saving your coaster. After the
coaster has been saved to your hard drive, you can share it with other players and use it in other
scenarios or sandbox games.
Managing Your Coaster
After the test run is complete, you can make adjustments to the intensity or nausea ratings by adding
or removing banking, straight brakes or lifts where needed. In some cases you may need to recon-
struct parts of the track, and when you’ve worked out the kinks, you can click the on the Auto
Complete button to finish it off.After the ride is open for business, you should assign a mechanic to
regularly inspect it.
88
RCT 3 PC_ManInt_REV 12/3/04 11:12 AM Page 88
