15 www.seuservice.com
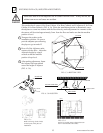
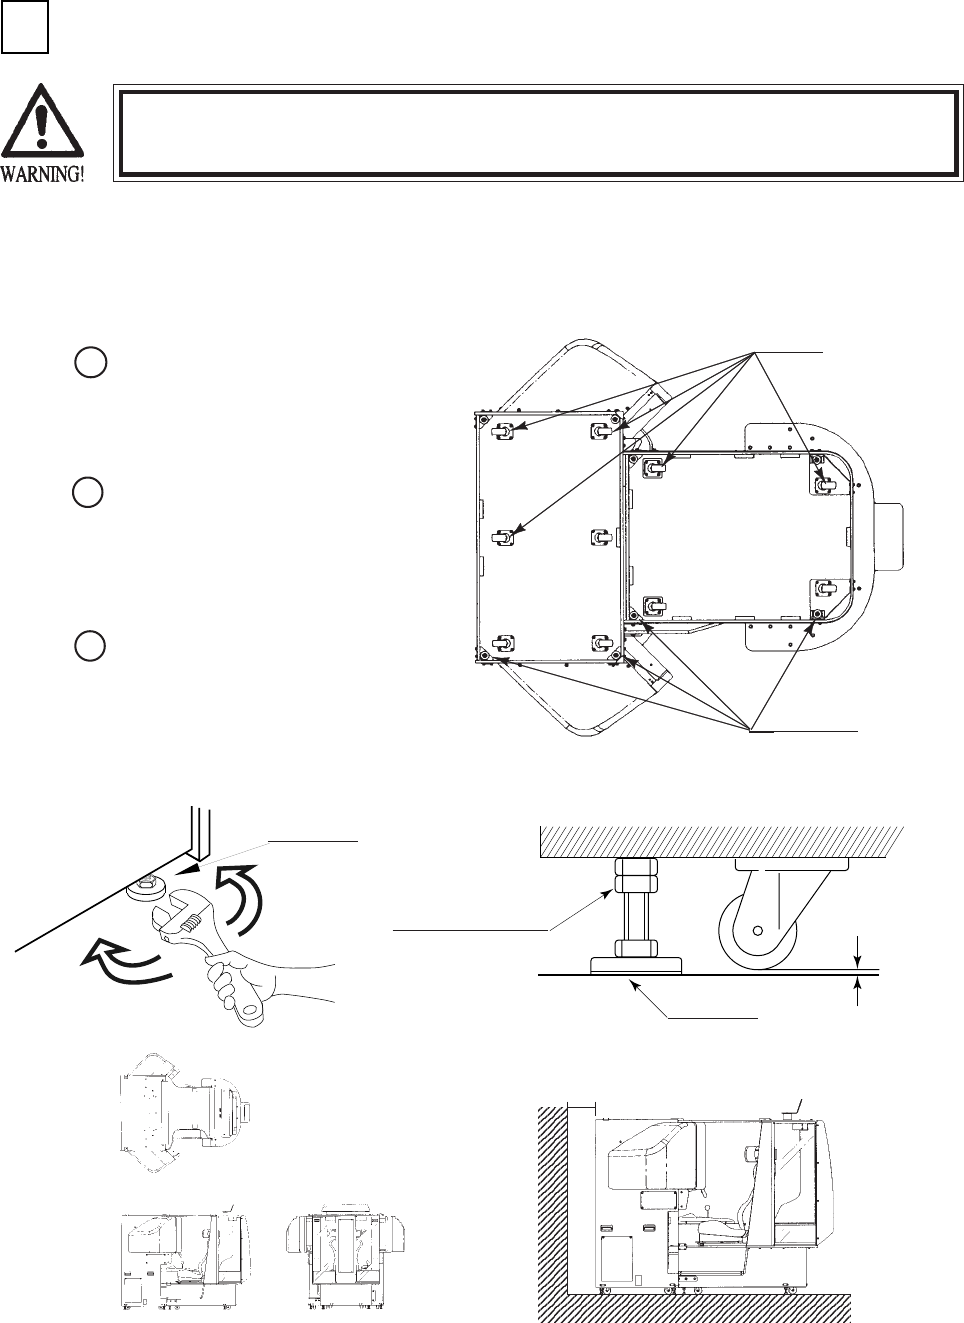
Transport the product to the
installation position. Be sure to
provide adequate space allowing
the player to get on and off.
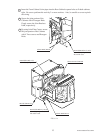
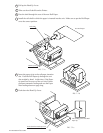
Have all of the Adjusters make
contact with the floor. Adjust the
Adjuster's height by using a
wrench so that the machine
position is kept level.
After making adjustment, fasten
the Adjuster Nut upward and
secure the height of Adjuster
(FIG. 6. 3 b).
SECURING IN PLACE (ADJUSTER ADJUSTMENT)
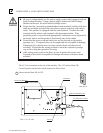
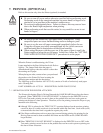
Make sure that all of the adjusters are in contact with the floor. If they are not, the
cabinet can move and cause an accident.
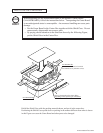
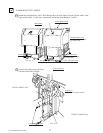
This product has 8 casters (4 for Front Cabinet, 4 for Rear Cabinet) and 8 Adjusters (4 for Front
Cabinet, 4 for Rear Cabinet). (FIG. 6. 3a) When the installation position is determined, cause
the adjusters to come into contact with the floor directly, make adjustments in a manner so that
the casters will be raised approximately 5mm. from the floor and make sure that the machine
position is level.
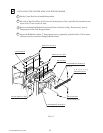
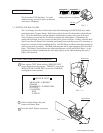
FIG. 6. 3 c
Refer to this Fig. (Scale:1/100)
for the layout of the place of
installation.
FIG. 6. 3 d
Be sure to provide space as shown between
the Air Vent and the wall surface.
ADJUSTER
FIG. 6. 3 b ADJUSTER
Approx.5mm
ADJUSTER
CASTER
FASTEN UPWARD.
ADJUSTER
CASTER
FIG. 6. 3 a BOTTOM VIEW
3
200mm
1
2
3


