A Field Office Example
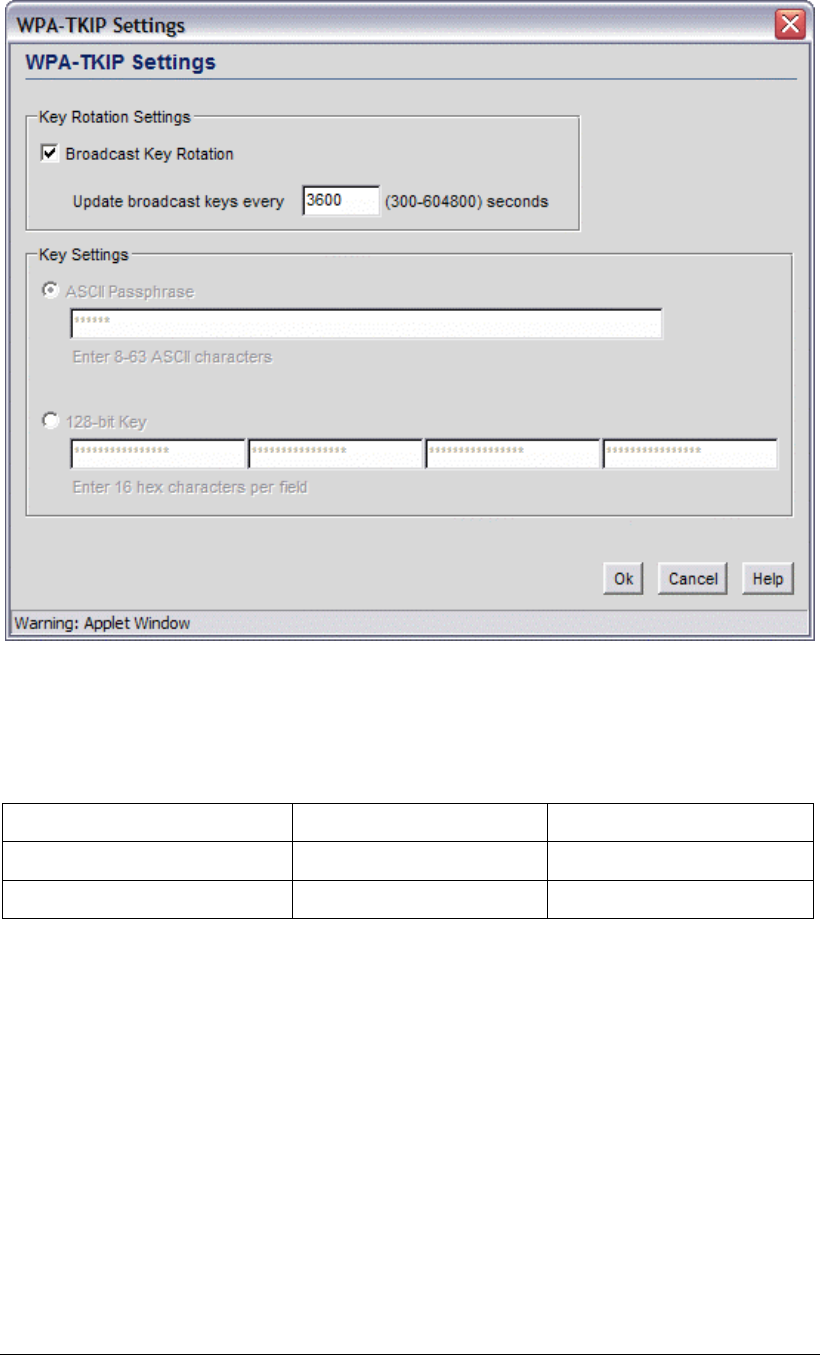
Leo clicks the OK button to save his WPA-TKIP settings, then the Apply button to confirm
the WLAN configuration.
This completes configuration of the engineering WLAN. The sales and marketing WLAN
and the administration WLAN are configured exactly the same way, with the sole exception
that they take different names and ESSIDs.
WLAN WS 2000 Name ESSID
Sales and Marketing MrkWLAN Marketing
Administration AdmWLAN Administration
After these WLANs are configured, the next step is to configure the Access Ports.
Configuring the Access Ports
The WS 2000 allows the user to specify default settings for Access Ports. Leo expands the
Access Ports node in the left menu and selects the 11b Defaults node. Leo has four 802.11a
ports, so he will set the default settings for the 802.11a Access Ports.
All of the Access Ports will be indoors, so he specifies Placement as Indoors. He sets the
default Channel as 36, even though all of his Access Ports will be using different 802.11a
channels. He sets the Power Level to 100mW, the maximum level allowed in the US.
Leo leaves the Slowest Supported Rate and the Fastest Supported Rate as they are.
The switch will operate at the maximum rate allowed by radio conditions, scaling back as
needed. He sees no reason to change those parameters.
Copyright © 2004 Symbol Technologies, Inc. All Rights Reserved 130
WS 2000 Wireless Switch: 1.0 Date of last Revision: March 2004


