


164-122012 Power
POD
400 Page 15 of 42
8.1. POWER ON/OFF
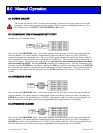
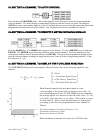
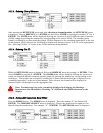
8.2. CHANGING THE COMMAND SET POINT
Channel two (2), example shown.
Press the desired CHANNEL # key. An asterisk appears in the first space on the line representing the
selected channel. The meter display is immediately replaced with the current set point. Pressing a
number key begins the editing process. The cursor lands on the channel set point to be edited, and the
new command is entered with the most significant bit (MSB) first. The set point is filled in from left to
right on the display. When entering a new set point, you must use the decimal key when it has been
used in setting the SPAN. Pressing ENTER completes the editing process. The old command is not
changed until the ENTER key is actuated. Hitting the ESCape button at any time prior to the ENTER
key will return the display to its previous state without any changes being made. This command will not
be applied to the output until the channel is set for AUTO operation. See Setting a Channel to AUTO
Control.
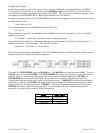
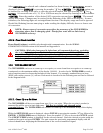
8.3. OVERRIDE OPEN
Press the desired CHANNEL # key. An asterisk appears in the first space on the line representing the
selected channel. The meter display is immediately replaced with the current set point. Pressing the
OPEN key results in the application of +15 VDC to pin number eight (8) of the corresponding 15 pin
Sub-D connector and returns the previously programmed metering function to the display.
8.4. OVERRIDE CLOSED
Press the desired CHANNEL # key. An asterisk appears in the first space on the line representing the
selected channel. The meter display is immediately replaced with the current set point. Pressing the
CLOSE key results in the application of -15 VDC to pin number eight (8) of the corresponding 15 pin
Sub-D connector and returns the previously programmed metering function to the display.
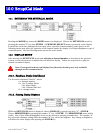
8.0 Manual Operation
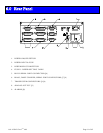
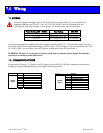
The Power On switch, item 1 in rear panel drawing, is located in the upper right corner of the
rear panel. Insure that the proper power setting is selected prior to turning the power on. See
the Power section of WIRING THE POWER
POD
-400, above.