ADJUSTMENT
8 - 2 VOLUME ADJUSTMENT/REPLACEMENT
Never touch places other than those specified. Touching unspecified places can
cause electric shock and/or short circuit.
After the replacement or adjustment of the VR, be sure to set the variable value of
the VR in the test mode’s Volume Setting.
1
2
3
4
5
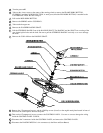
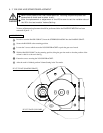
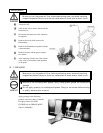
In order to turn the HANDLE SHAFT, insert the STEERING HANDLE into the HANDLE SHAFT.
Secure the HANDLE at the centering position.
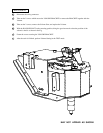
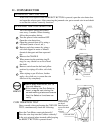
Loosen the 2 screws which secure the VOLUME BRACKET to push the gear out of mesh.
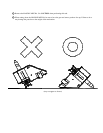
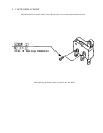
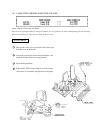
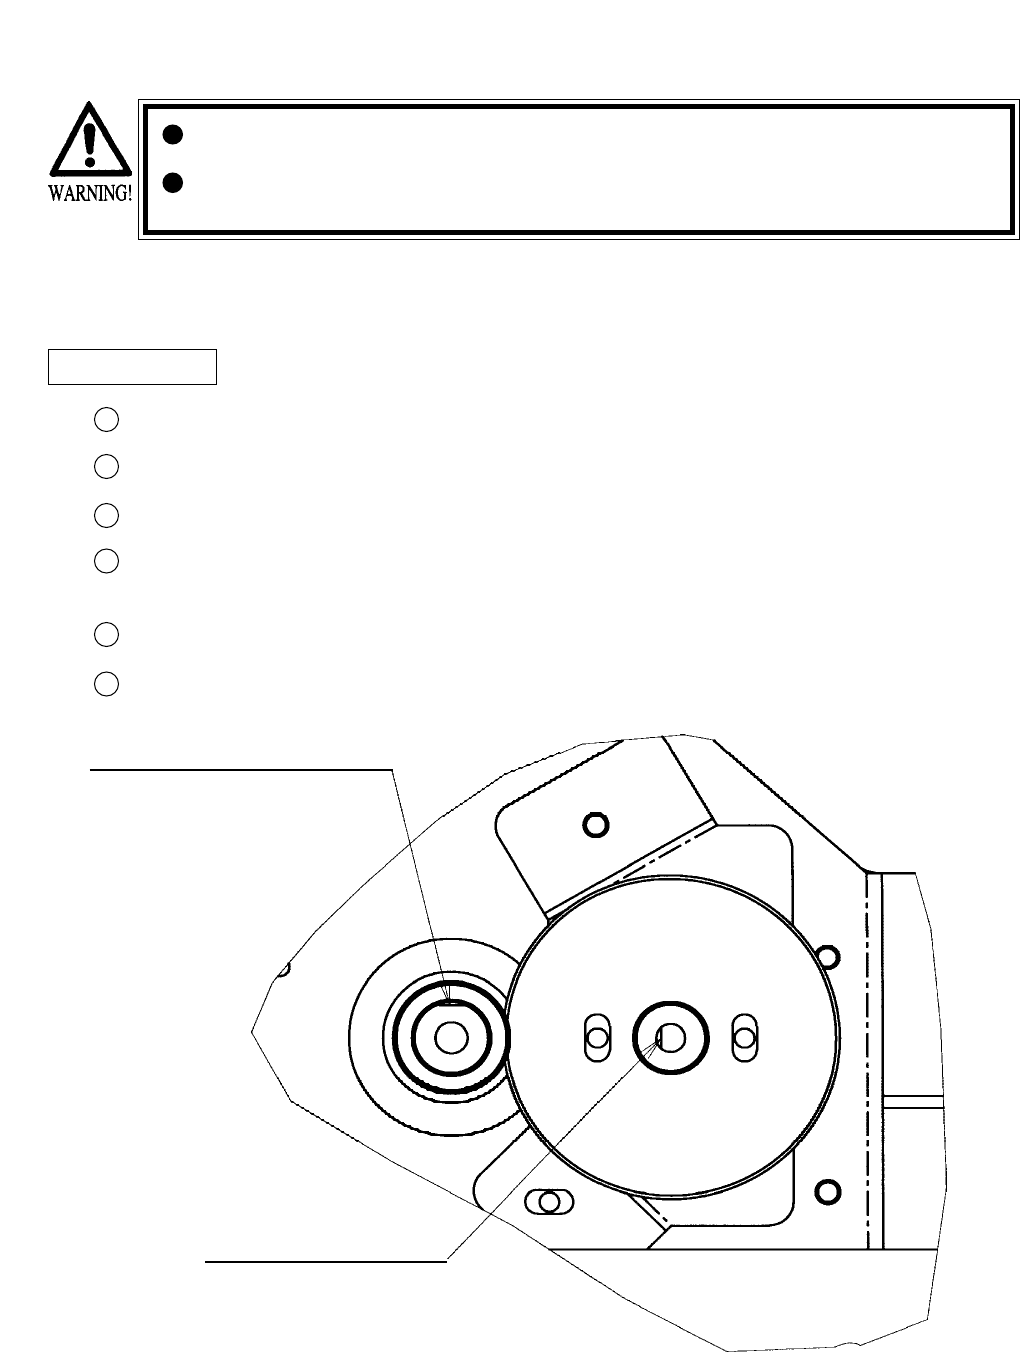
With the HANDLE SHAFT at the centering position, bring the gear into mesh so that the position of the
volume’s shaft is as shown in the Fig.
Fasten the screws securing the VOLUME BRACKET.
After the work is finished, perform Volume Setting in the Test mode.
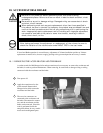
Volume adjustment/replacement should be performed after the HANDLE MECHA has been
removed as per 8 - 1.
6
“D” CUT FACE (VOLUME)
“D” CUT FACE (HANDLE SHAFT)


