


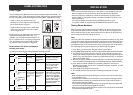

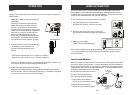
When sensor failure occurs, try the following:
1.Check if the sensor is located at where it should be, and whether there is any
physical damage to the sensor.
2.If the failed sensor is not physically damaged, try to activate the sensor and
see
if the control panel reacts to such activation.
3.If not, try to remove the sensor from its location, and bring it closer to control
panel and activate the sensor. It is possible that the sensor is installed too far
from the control panel and it cannot establish a steady communication with the
control panel. If this is the case, please install the sensor closer to the control
panel.
Low Battery
Control Panel
The control panel is powered mainly by the adapter. However, during power outage,
it will be powered by the rechargeable backup battery. Under standby conditions,
these batteries can last for 48 hours.
When the backup battery is running low, the “LO BATT” LED on the control panel
will be on, indicating the backup battery should be recharged. To recharge the
backup battery, plug in the power adapter. It takes approx. 20 hours to fully charge
the backup battery.
Sensors (Sold seperately)
All of the sensors are battery powered. Depending on the operating condition
and environment, the battery life varies from 9 months to 2 years. 9V alkaline
battery is used for the motion sensor, the battery life is approximately 9 months.
Door / Window Sensor operates on a Lithium CR-2032 battery, with battery life of
approximately 2 years. For other sensors, please refer to the user’s instructions
regarding the battery life.
OPERATION
–
21
–
Sensor Failure
The control panel constantly monitors its sensors, if the control panel fails to
communicate with any sensors, it will notify the user by:
1. The zone LED of the failed sensor will be on steadily;
2. Voice announcement “zone X sensor Y failure” will be played.
ADVANCED PROGRAMMING
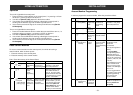
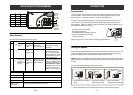
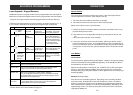
ZONE LED DESCRIPTION
Off Zone is not occupied by any remote
Flashes twice This zone is occupied by another remote. Programming another
remote to this zone will overwrite the previous remote.
Flashes once This zone is occupied by a control module* (Optional).
You can still program a remote to this zone, and it will not overwrite
the control module* you have in this zone. (Refer to page 37 Home
Automation for more information)
Flashes once, This zone is occupied by a remote AND a control module*.
then twice If you program another remote to this zone, it will overwrite the
previous remote, but not the control module*.
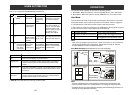
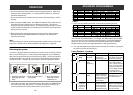
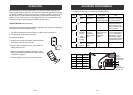
Learn Keychain / Keypad Remotes
Additional keychain or keypad remotes can be programmed to the control panel.
Maximum of 5 keychain/keypad remotes can be programmed to the control panel.
- Keychain or keypad remotes should be programmed to Device 6 to Device 0.
Follow the instructions below to program remote(s) to remote location(s) 6, 7, 8,
9, or 0, which is the bottom row of the numeric keypad of the control panel.
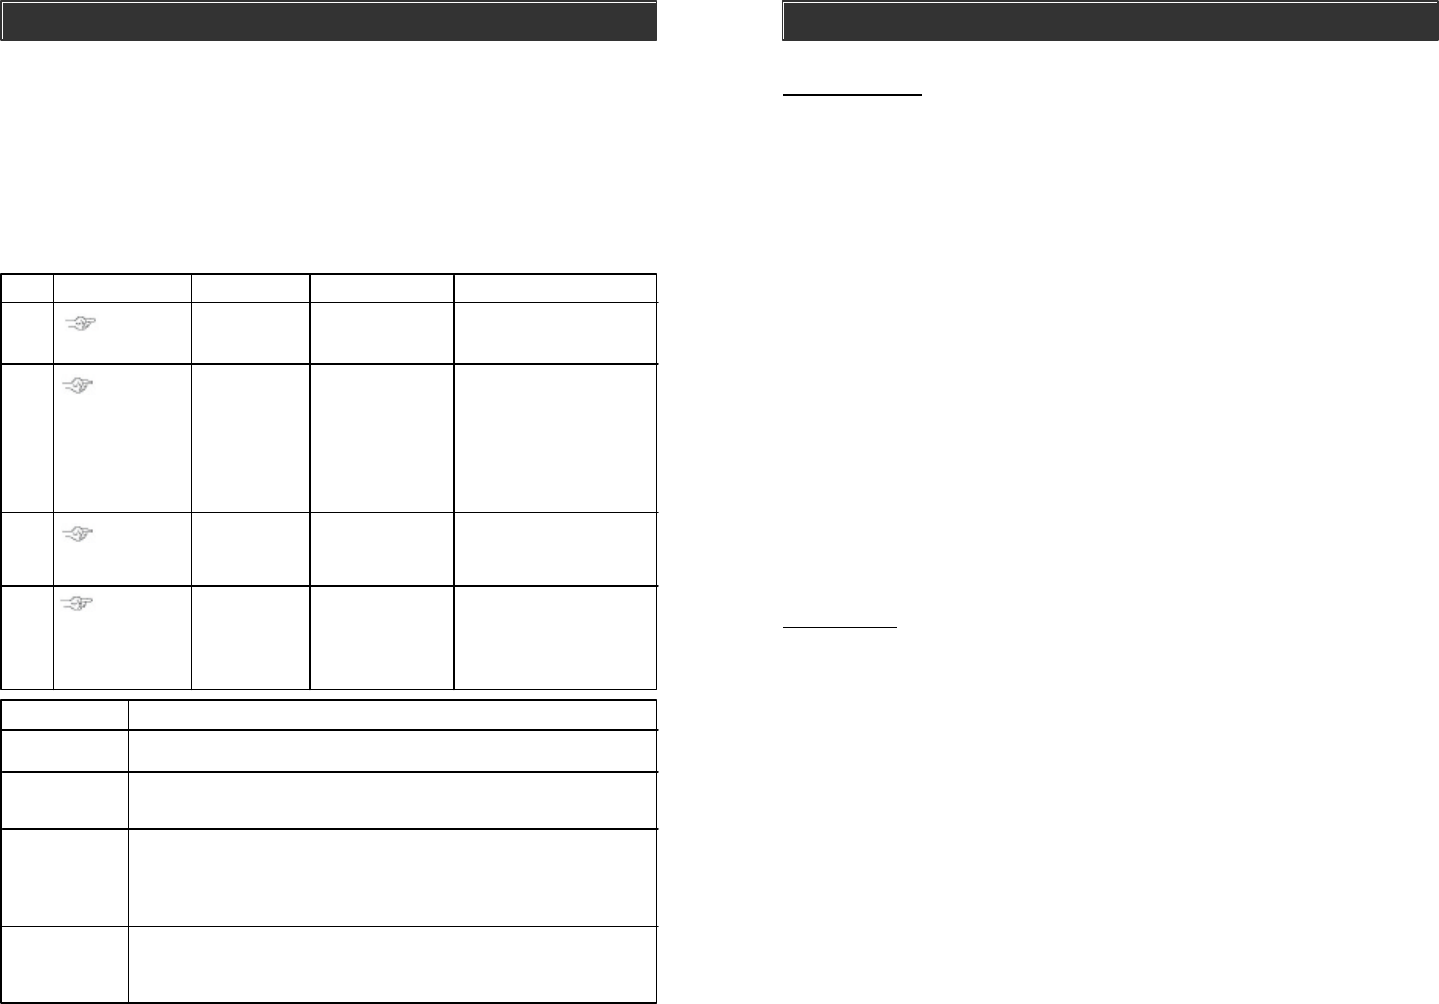
1
2
3
4
[PROG]
[MPIN]
Enter Program-
ming mode
Enter master
password to
programming mode
3 beeps for valid
password. 1 long beep
for invalid password.
[4]
Select learn
remote
programming
After [4] is entered, some
zone LEDs will flash or
stay off. The zone LEDs
represent whether that
zone is already occupied
by another remote.
** See Table A below.
[6] to [0]
Select remote
location
(Max. 5 remotes)
Select a remote
location [6], [7],
[8], [9] or [0].
After you have selected
the remote location, that
zone LED will be on.
Trigger remote
Once the signal is
transmitted to the
Control Panel, that
signal which will
be stored.
You will hear
[Device X Accepted],
where “X” is the remote
location.
Activate the
remote by
pressing any
one of the
buttons.
** Table A: Zone LED status for learning keychain/keypad remote(s).
* Please refer to learn control module on page 37.
Step Keys Function Description Note
–
32
–