152
Chapter 8 Windows LineJet Print Server Configuration
Changing Destination Names
When defining some printers within Windows environments, the LineJet Print
Server requires that you specify a pre-defined destination rather than any
name you would like. For example, when creating a new printer under
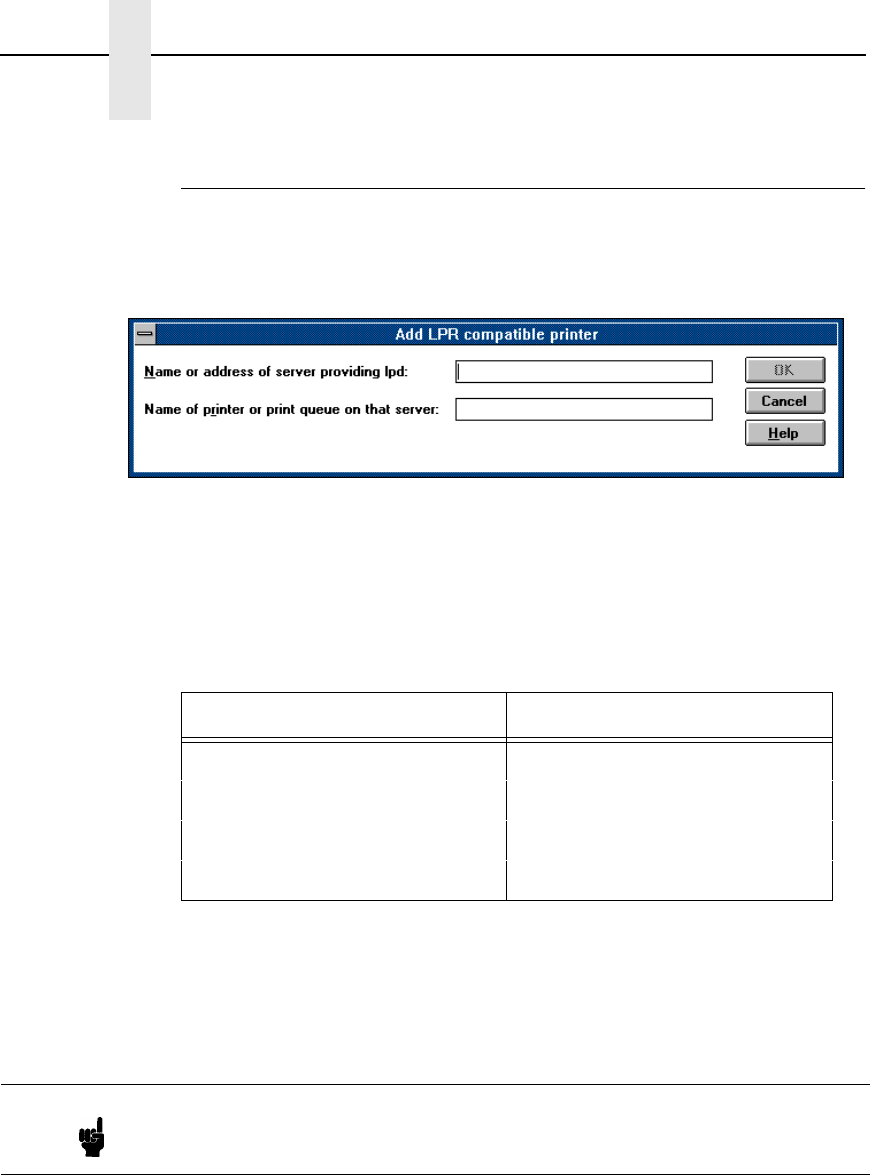
Windows NT, you are presented with a screen similar to Figure 11.
Figure 11. Windows NT Print Setup Dialogue Box
The first field requires the IP address for the LineJet Print Server and the
second field must be filled in with a valid destination from the print server
(e.g., d1prn). Otherwise, LPR will not be able to access the printer. Table 12
outlines the default destinations to choose from.
This name can be changed to something more meaningful using the built-in
HTML forms. To do this:
1. Load a Web browser on your Windows station and direct it to the URL
http://
LineJetIPaddress
/destConf.html
(e.g.,
http://192.75.11.9/destConf.html)
2. At the Print Path Configuration HTML form that displays, select a
destination link from the top of the page to bring up the appropriate
destination form. By default, you should see a line near the top of the form
showing the destinations listed in Table 12.
3. Once the desired destination HTML form displays, highlight the “Name”
field and type in the new name for this destination.
4. Click on the SUBMIT button when done and physically repower the print
server to make the new setting take effect.
Table 12. LineJet Print Server Default Destinations
Destination Mapped I/O Port
d1prn PRN
d2prn PRN
d3prn PRN
d4prn PRN
Note
If prompted for a User ID and password first, type in
root for the ID and
press ENTER at the password prompt since there is no password by
default.


