


26
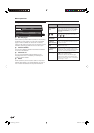
DTV menu operations
Installation
This section describes how to reconfi gure the DTV
settings after conducting Initial auto installation
(DTV) on page 8.
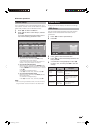
Carrier Scan
Manually add a new carrier by entering the desired
carrier number or frequency band.
Press
c
/
d
to select “Installation”.
Press
a
/
b
to select “Carrier Scan”, and then
press OK.
If you have already set the PIN, enter it here. If
not, enter the factory preset PIN “1234”.
1
2
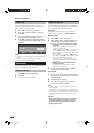
Auto Installation
The TV automatically detects and stores all available
services in your area. See Initial auto installation
(DTV) on page 8 for details.
NOTE
• If the TV detects a new carrier/service that has become
available after performing “Auto Installation”, the message
“Do you want to save?” displays.
Press
c
/
d
to select “Yes” or “No”, and then press OK.
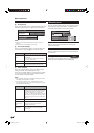
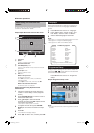
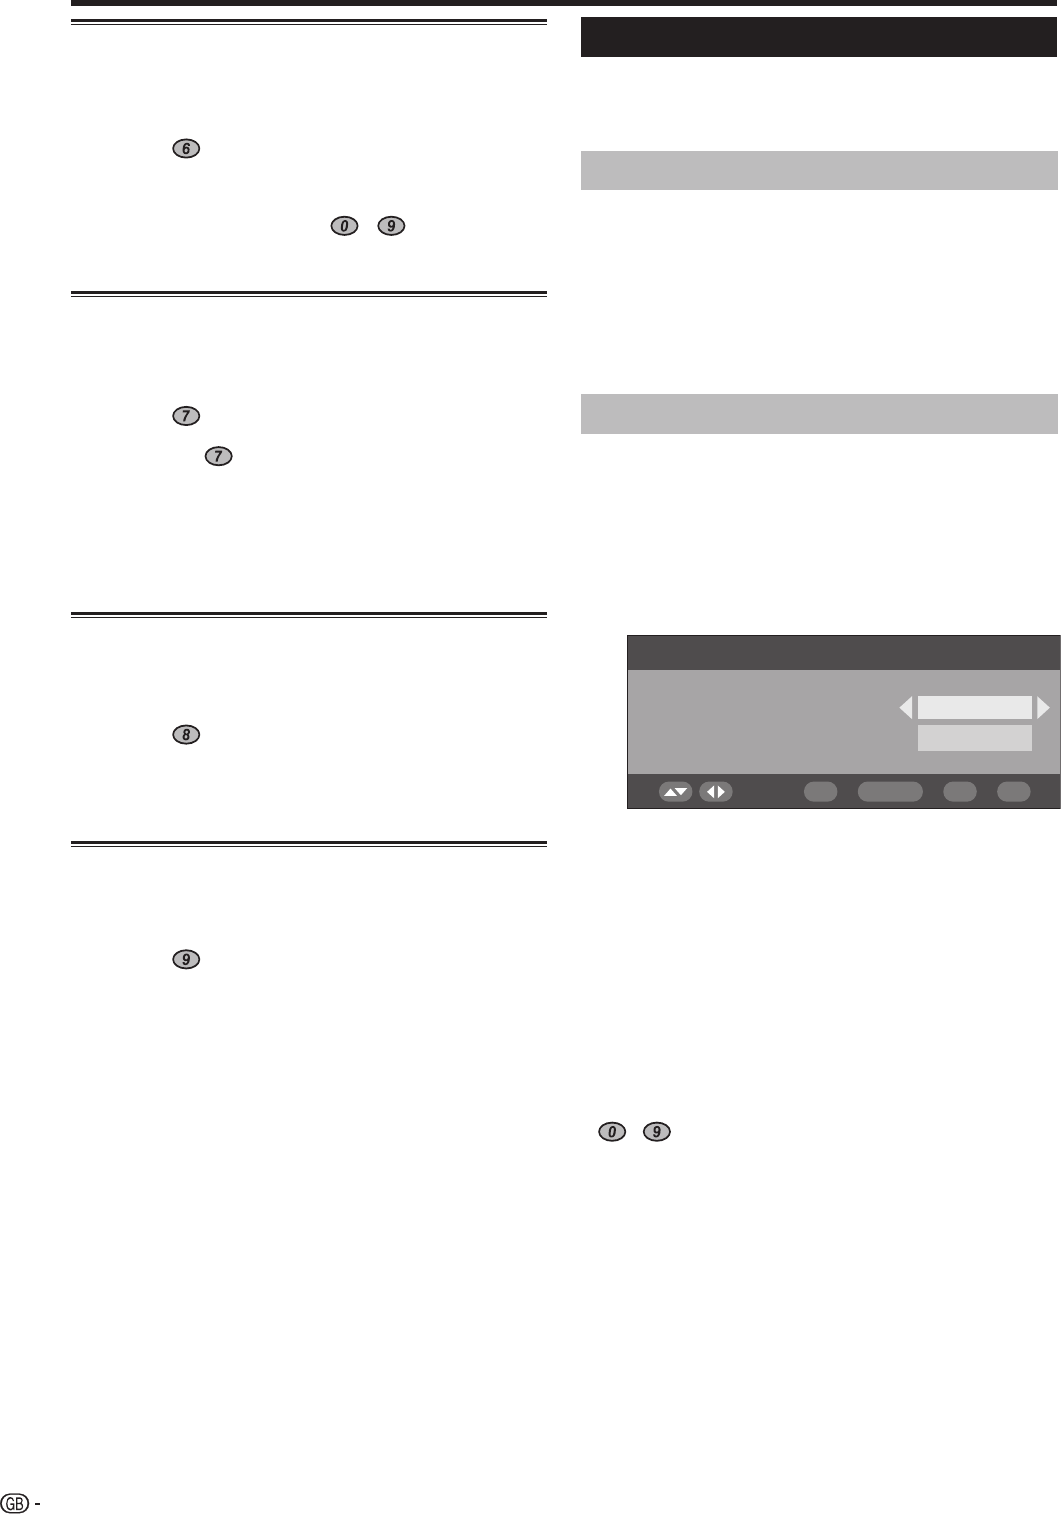
Carrier Scan
Select
Ch-35
554000
Channel
Frequency (kHz)
0...9 OK ENDDTV MENU
Press
a
/
b
to select “Channel”, then
c
/
d
to
enter the carrier number, and then press OK.
• The frequency of the selected carrier in the below cell
changes correspondingly.
After the scan is complete, the screen shows all
available services for the selected range.
A confi rmation message displays. Press
c
/
d
to select “Yes”, and then press OK to save the
change.
NOTE
• You can directly enter the frequency instead of step 3. In
this case, select “Frequency (kHz)”, enter the number using
- numeric buttons, and then press OK. Use
c
/
d
to move between the digits.
• After performing “Carrier Scan”, the order stored by using
the “Move” function will revert to the default order.
• See page 17 for setting the PIN.
3
4
5
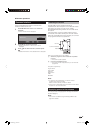
Select
Use this function to jump to the specifi c service in
one step. This is useful when there are many services
displayed on screen to scroll through.
Press
on the remote control. Now you can
change the service number on the left side of
the screen.
Enter the number using
- numeric
buttons, and then press OK. The highlight
moves to the selected service.
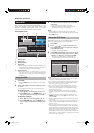
Erase
Erase the selected service(s) from the memory.
Press
a
/
b
to select the desired service.
Press
on the remote control. An icon
displays indicating the service to be erased.
• Pressing will turn the erase icon on and off.
• Do not press END to exit the screen here if you wish
to register the change.
Press OK.
• A confi rmation message displays.
Press
c
/
d
to select “Yes”, and then press OK.
Label
Change individual service names.
Press
a
/
b
to select the desired service.
Press
on the remote control. A character set
screen displays.
Enter new name for the service. See page 24 for
operations using the character set screen.
View
Tune to the service shown in the picture window.
Press
a
/
b
to select the desired service.
Press
on the remote control.
• The image shown in the picture window changes.
Press END to exit the Programme Setup screen
to view the image in full screen.
1
2
1
2
3
4
1
2
3
1
2
3
LC-42XD1E_gb_c.indd 26LC-42XD1E_gb_c.indd 26 2006/10/27 10:22:412006/10/27 10:22:41