


How to Use the NMS200
28
ProSafe NMS200 Network Management System
Configuration File Backup / Restore
Provided you have permissions, you can backup configuration file(s) for a single device or
group of devices, either on demand or as scheduled.
Follow these steps:
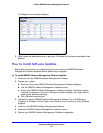
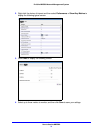
1. In the default NMS200 screen layout, go to Configuration Management > Summary.
2. In the Managed Resources portlet, select (click on) a Managed Resource of interest.
3. Right-click on selected resource in the Managed Resources portlet, and then click File
Management > Restore or Backup.
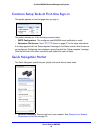
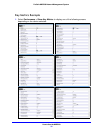
4. Enter the information needed to create the backup or restoration.
5. Optionally click Add Schedule to schedule the backup task.
6. Click Execute to immediately do backup or Save to save the configured backup to run later.
Create Reports
Reporting combines defined device targets with a pre-configured report template. The report
definition selects the resources to query and the (reusable) template selects which of the
available attributes appear in the report.
If your want to automate month-end reports NMS200 lets you schedule either recurring
reports or a single scheduled occurrence. With the correct permissions, you can run
Inventory Reports on demand or as scheduled. You can use the Reports to troubleshoot and
monitor performance and historical data that has been collected during the operation of the
network.
Most users create reports about discovered resources with the included report templates. To
create a report with an existing template, open the Reports portlet and right-click a report
listed there and select Execute.
Follow these steps:
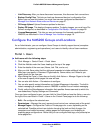
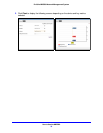
1. Click Reports in the portal and scroll down to find the Reports portlet.
2. Click to select a Report of interest.
3. Right-click, and then click Execute to run report.
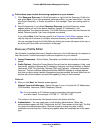
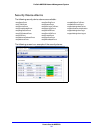
4. Report generation runs in the background. When it is complete, you a message appears in
the Messages tab at the bottom left corner.
5. Click Messages to open, then click on the Report of interest and click View Details at the
right end of entry, to view completed report.
You can also automate report generation. If you want to have a recurring report, scheduling is
the most convenient way to arrange it. Automatically generated reports are archived, and
appear in the history snap panel of the expanded portlet.