


English
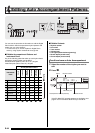
Editing Auto Accompaniment Patterns
E-45
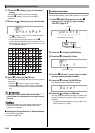
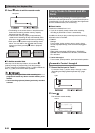
3.
Press a button from
3
to
6
to select the
Accompaniment Pattern you want to edit.
The name of the pattern will appear on the display.
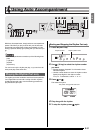
Pattern selected by each button
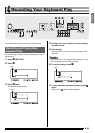
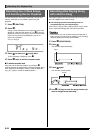
4.
Press
8
to select the instrument part you want
to edit.
The part number of the part you select will flash on the
display.
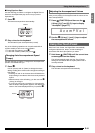
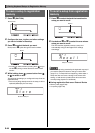
5.
Press
bo
(RHYTHM).
This will display the rhythm name.
6.
Use the
br
(10-key) [–] and [+] keys to select
the rhythm number you want to assign to the
instrument part you are editing.
A different rhythm number is assigned for each instrument
part.
• You can play the data of the currently selected rhythm
number by pressing
7
.
• All of the eight instrument parts of an intro (I-1 to I-8)
must have the same rhythm number. If you assign
rhythm 003 to I-1, for example, 003 also will be
assigned automatically to parts I-2 through I-8. If you
then assign rhythm 004 to part I-2, for example, I-1 and
all of the other parts also will change to 004. All of the
eight parts of an ending (E-1 to E-8) also must have the
same rhythm number.
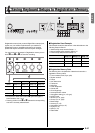
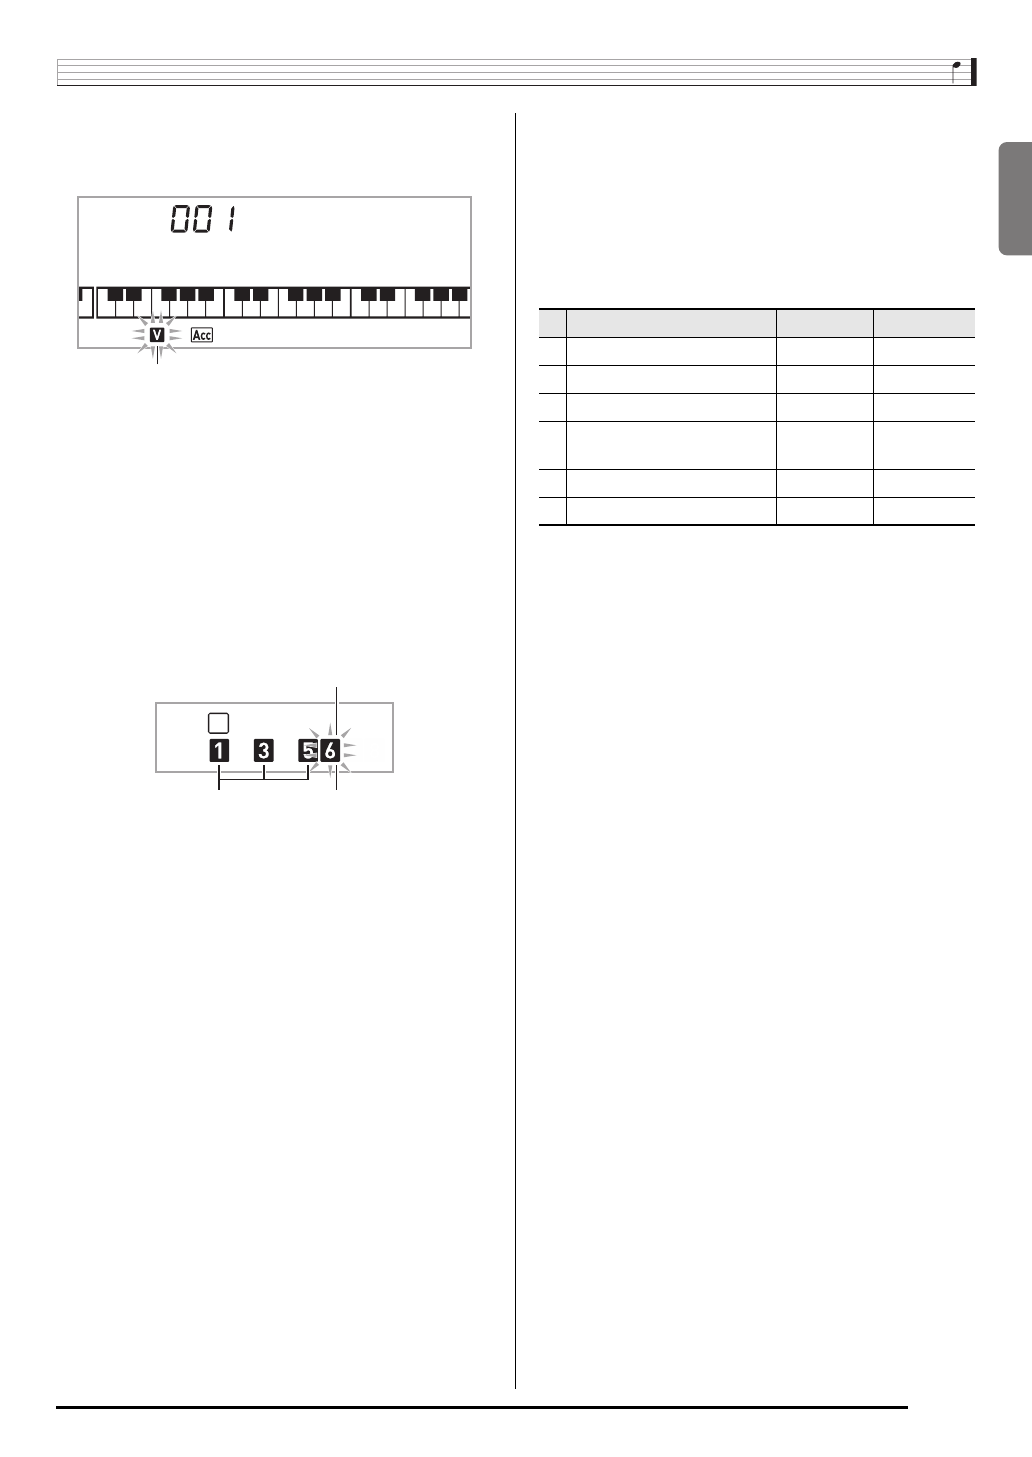
7.
To edit the other contents, press
ck
(FUNCTION) to display the screen for the
setting you want.
• Each press of
ck
(FUNCTION) will cycle through the
settings shown below, from 1 through 6.
• Use the
br
(10-key) [–] and [+] keys to change the
currently selected setting.
• You can play the current settings of the editable part by
pressing
7
.
* Instrument parts 1 and 2 can be assigned drum set tones
(built-in tones 684 to 700) only.
8.
Repeat steps 4 through 7 as many times as
necessary to edit the parts you want for the
pattern you selected in step 3.
• If you change the rhythm number in step 6, the editable
contents (1 through 6 in the above table) you last
configured in step 7 of this procedure will be overwritten
with the settings of the newly selected rhythm.
9.
Repeat steps 3 through 8 as many times as
necessary to edit the accompaniment patterns
you want (intro through ending).
10.
Press
bl
.
This will display a message asking if you want to save the
user rhythm.
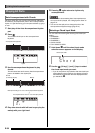
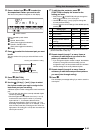
3
:Intro
4
: Normal, Normal Fill-in
(Each press toggles the selection.)
5
: Variation, Variation Fill-in
(Each press toggles the selection.)
6
: Ending
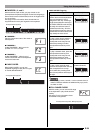
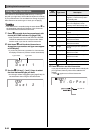
Drm:Rh
y
5
Variation selected
Part 6 (Chord 3)
Flashing: Part selected for editing.
Parts that contain data.
Setting Type Display Settings
1 Part on/off Part On/Off
2 Tone number* Tone 001 - 683
3 Volume level Vol. 000 - 127
4
Left-right speaker balance
(panning)
Pan –64 - 0 - +63
5 Reverb depth (reverb send) Rvb 000 - 127
6 Chorus depth (chorus send) Cho. 000 - 127