25
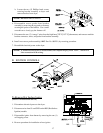
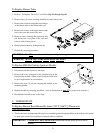
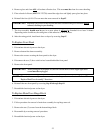
4. Remove glass and clean
ALL old sealant off main door. This area must be clean for correct bonding.
5. Place a bead of silicone (ADC P/N 170730) around the edge door and lightly press glass into place.
6. Reinstall the four (4) #10-32 acorn nuts that were removed in Step #3.
IMPORTANT: DO NOT press hard or the silicone thickness between the glass and door will be
reduced, resulting in poor bonding.
7. The door assembly should now be put in an area where it will not be disturbed for at least 24 hours.
Depending on the conditions, the curing time of this adhesive is 24 to 36 hours.
8. After the curing period, install main door on dryer by reversing Step #1.
To Replace Front Panel
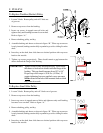
1. Discontinue electrical power to the dryer.
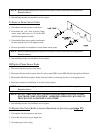
2. Remove bottom lint drawer assembly.
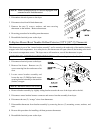
3. Remove the screws securing the front panel to the dryer.
4. Disconnect the two (2) door switch wires located behind the front panel.
5. Remove the front panel.
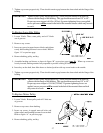
IMPORTANT: When pulling the front panel off, the door switch harness in the upper right hand
corner must be unplugged.
NOTE: The main door assembly can be removed to make the panel removal easier. Refer to “To
Replace Main Door Assembly” directions.
6. Reinstall the new front panel by reversing Step #1 through Step #4.
7. Reestablish electrical power to the dryer.
To Replace Main Door Hinge Block
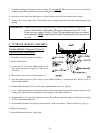
1. Discontinue electrical power to the dryer.
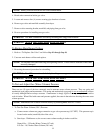
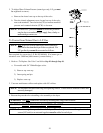
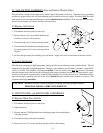
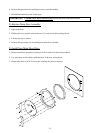
2. Follow procedure for removal of main door assembly for top hinge removal.
3. Remove the two (2) screws from the bottom hinge block.
4. Reassemble by reversing removal procedure.
5. Reestablish electrical power to the dryer.


