9-16
Cisco Wireless LAN Controller Configuration Guide
OL-9141-03
Chapter 9 Managing User Accounts
Choosing the Web Authentication Login Window
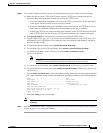
Step 13 Click Apply to commit your changes.
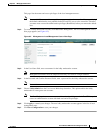
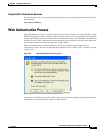
Step 14 Click Preview to view your customized web authentication login window.
Step 15 If you are satisfied with the content and appearance of the login window, click Save Configuration to
save your changes.
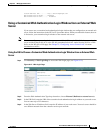
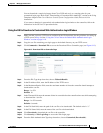
Using the CLI to Download a Customized Web Authentication Login Window
Step 1 Make sure that you have a TFTP server available for the file download. See the guidelines for setting up
a TFTP server in Step 8 of the “Using the CLI to Choose the Default Web Authentication Login
Window” section on page 9-10.
Step 2 Copy the .tar file containing your login page to the default directory on your TFTP server.
Step 3 To specify the download mode, enter transfer download mode tftp.
Step 4 To specify the type of file to be downloaded, enter transfer download datatype webauthbundle.
Step 5 To specify the IP address of the TFTP server, enter transfer download serverip tftp-server-ip-address.
Note Some TFTP servers require only a forward slash (/) as the TFTP server IP address, and the TFTP
server automatically determines the path to the correct directory.
Step 6 To specify the download path, enter transfer download path absolute-tftp-server-path-to-file.
Step 7 To specify the file to be downloaded, enter transfer download filename filename.tar.
Step 8 Enter transfer download start to view your updated settings and answer y to the prompt to confirm the
current download settings and start the download.
Step 9 To specify the web authentication type, enter config custom-web webauth_type customized.
Step 10 Enter save config to save your settings.
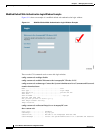
Step 11 Follow the instructions in the “Using the CLI to Verify the Web Authentication Login Window Settings”
section on page 9-17 to verify your settings.


