


16
Settings and adjustments (continued)
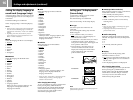
Setting the display language or
sound track (Language Setup)
“Language Setup” allows you to choose among
various languages for the on-screen display or
sound track.
The default settings are underlined.
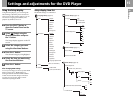
Select “Language Setup” in the Setup display.
Notes
• When you select a language that is not recorded on the
DVD, one of the recorded languages is automatically
selected for the “DVD Menu,” “Audio” and “Subtitles”
settings.
• Depending on the DVD, the console may not start
playing the language you have selected in the “DVD
Menu,” “Audio” or “Subtitles.”
x OSD
Selects the language for the on-screen display.
• English
• French
• German
• Italian
• Spanish
• Dutch
• Portuguese
x DVD Menu
Selects the language for the DVD menu.
• English
• French
• German
• Italian
• Spanish
• Dutch
• Danish
• Swedish
• Finnish
• Norwegian
• Portuguese
• Russian
• Chinese
• Japanese
• Language Options
When you select “Language Options,” the
language list is displayed. Select the
language from the list.
x Audio
Selects the language for the sound track.
• English
• French
• German
• Italian
• Spanish
• Dutch
• Danish
• Swedish
• Finnish
• Norwegian
• Portuguese
• Russian
• Chinese
• Japanese
• Language Options
When you select “Language Options,” the
language list is displayed. Select the
language from the list.
x Subtitles
Selects the language for the subtitles.
• Audio Follow*
• English
• French
• German
• Italian
• Spanish
• Dutch
• Danish
• Swedish
• Finnish
• Norwegian
• Portuguese
• Russian
• Chinese
• Japanese
• Language Options
When you select “Language Options,” the
language list is displayed. Select the
language from the list.
* When you select “Audio Follow,” the language for the
subtitles changes according to the language you
selected for the sound track.
After changing DVD settings
To save your changes, be sure to eject the DVD
before pressing the 1/RESET button or
turning off the unit with the MAIN POWER
switch. Please note that changes will not be
saved if you reset or turn off the console
without first ejecting the DVD.
Setting your TV display mode
(Screen Setup)
“Screen Setup” allows you to set various
options for your TV display.
The default settings are underlined.
Select “Screen Setup” in the Setup display.
x TV Type
Selects the aspect ratio of the TV to be
connected.
You can change this setting only when the
DVD is stopped.
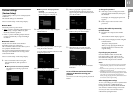
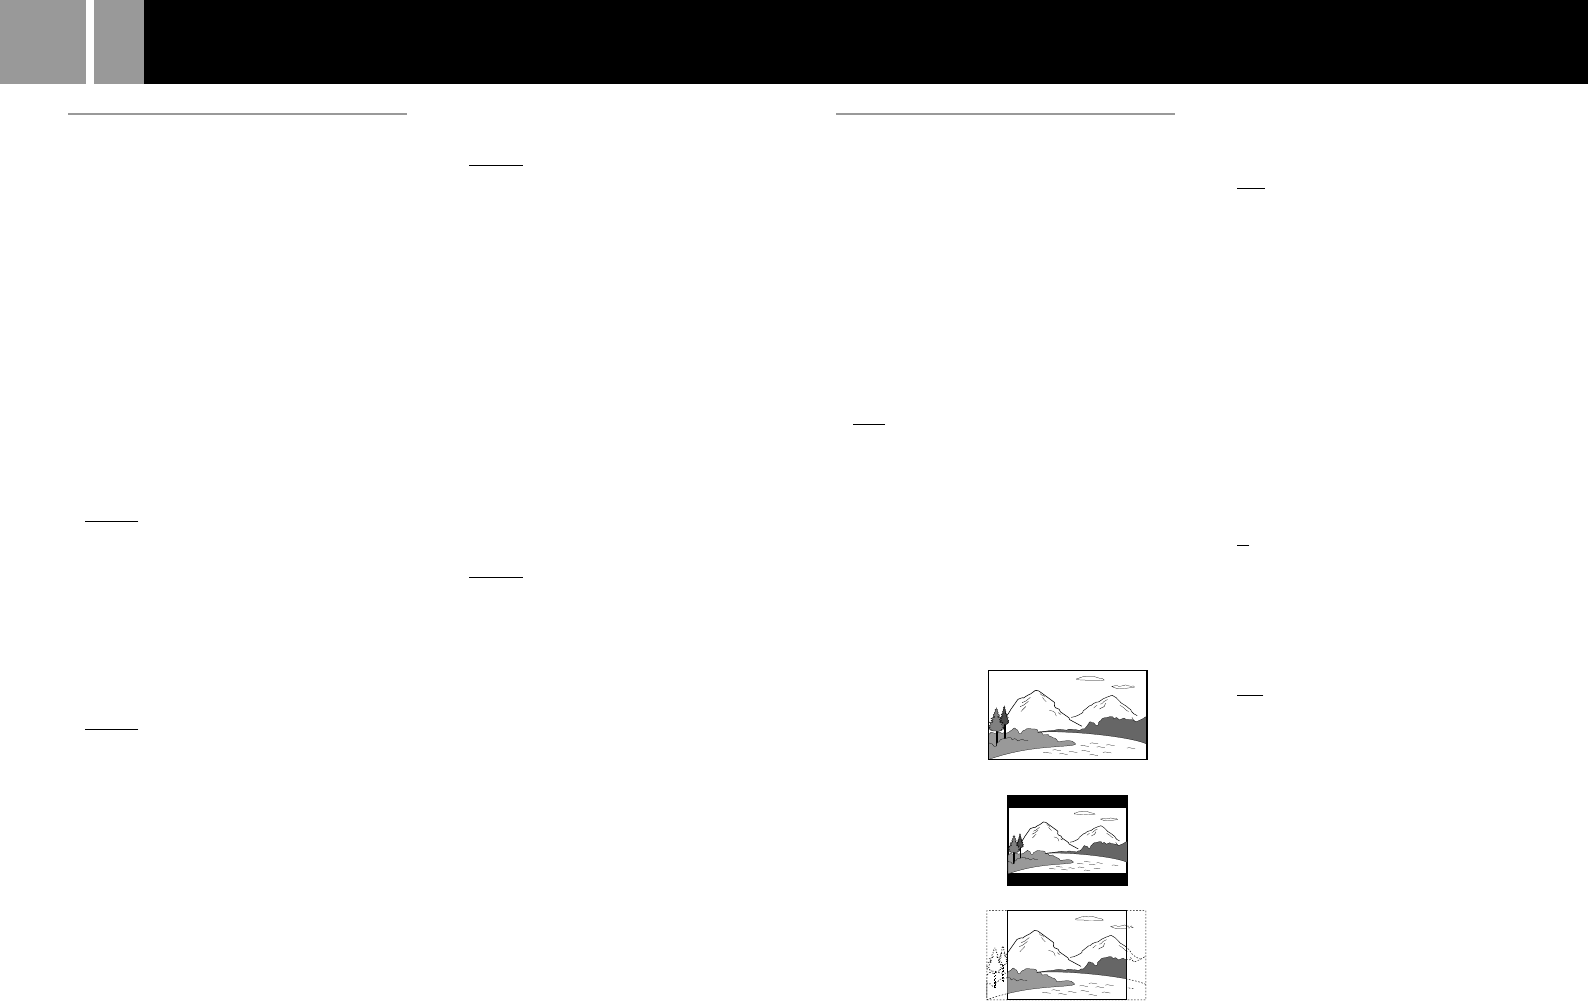
• 16:9 : select this when you connect a
wide-screen TV, or a TV that displays in
wide mode to the console.
• 4:3 Letter Box : select this when you connect
a standard TV to the console. Displays a
wide picture with margins on the upper and
lower portions of the screen.
• 4:3 PAN SCAN : select this when you
connect a standard TV to the console.
Displays the wide picture on the whole
screen automatically and cuts off the
portions that do not fit.
16:9
4:3 Letter Box
4:3 PAN SCAN
Note
With most DVDs, the picture is automatically output in a
predetermined aspect ratio.
x DNR (Digital Noise Reduction)
If the playback picture has noise or
interference,
set this item to “DNR1” or “DNR2.”
• Off : normally select this position.
• DNR1 : makes the picture clear by reducing
noise.
• DNR2 : makes the picture even clearer by
reducing noise.
Notes
• When you select “DNR2,” an afterimage may appear.
In this case, select ”Off.”
• Depending on the DVD, the DNR function may
produce limited results.
x Outline Sharpening
Makes the outline of the picture sharpened or
softened. The higher the value, the sharper the
outline.
•+2
•+1
• 0 : normally select this position.
•-1
•-2
x Display
Displays or turns off the playing status
information on the TV screen.
• On : when you operate the DVD player, the
playing status appears for a few seconds on
the TV screen.
• Off : the playing status is not displayed.
After changing DVD settings
To save your changes, be sure to eject the DVD
before pressing the 1/RESET button or
turning off the unit with the MAIN POWER
switch. Please note that changes will not be
saved if you reset or turn off the console
without first ejecting the DVD.