


Setup 1-6
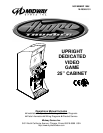
GAME SETUP
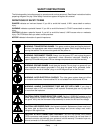
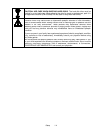
WARNING:
The cabinet is top heavy. Use the two handles on the back of the cabinet
when moving the game.
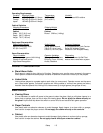
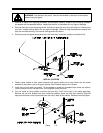
1. Remove all items from shipping containers and set aside. Casters, levelers, and mounting hardware
are packed with the pedestal section. Inspect the exterior of the cabinet for any signs of damage.
2. Remove the keys from the steering wheel. Unlock and open the coin door and cash box. Remove the
rear door. Inspect cabinet interior for any signs of damage. Check all major assemblies to assure that
they are mounted securely. Ensure that nothing blocks fan airflow.
3. Electrical cords and game spare parts are in the cash box. Locate the casters and levelers first.
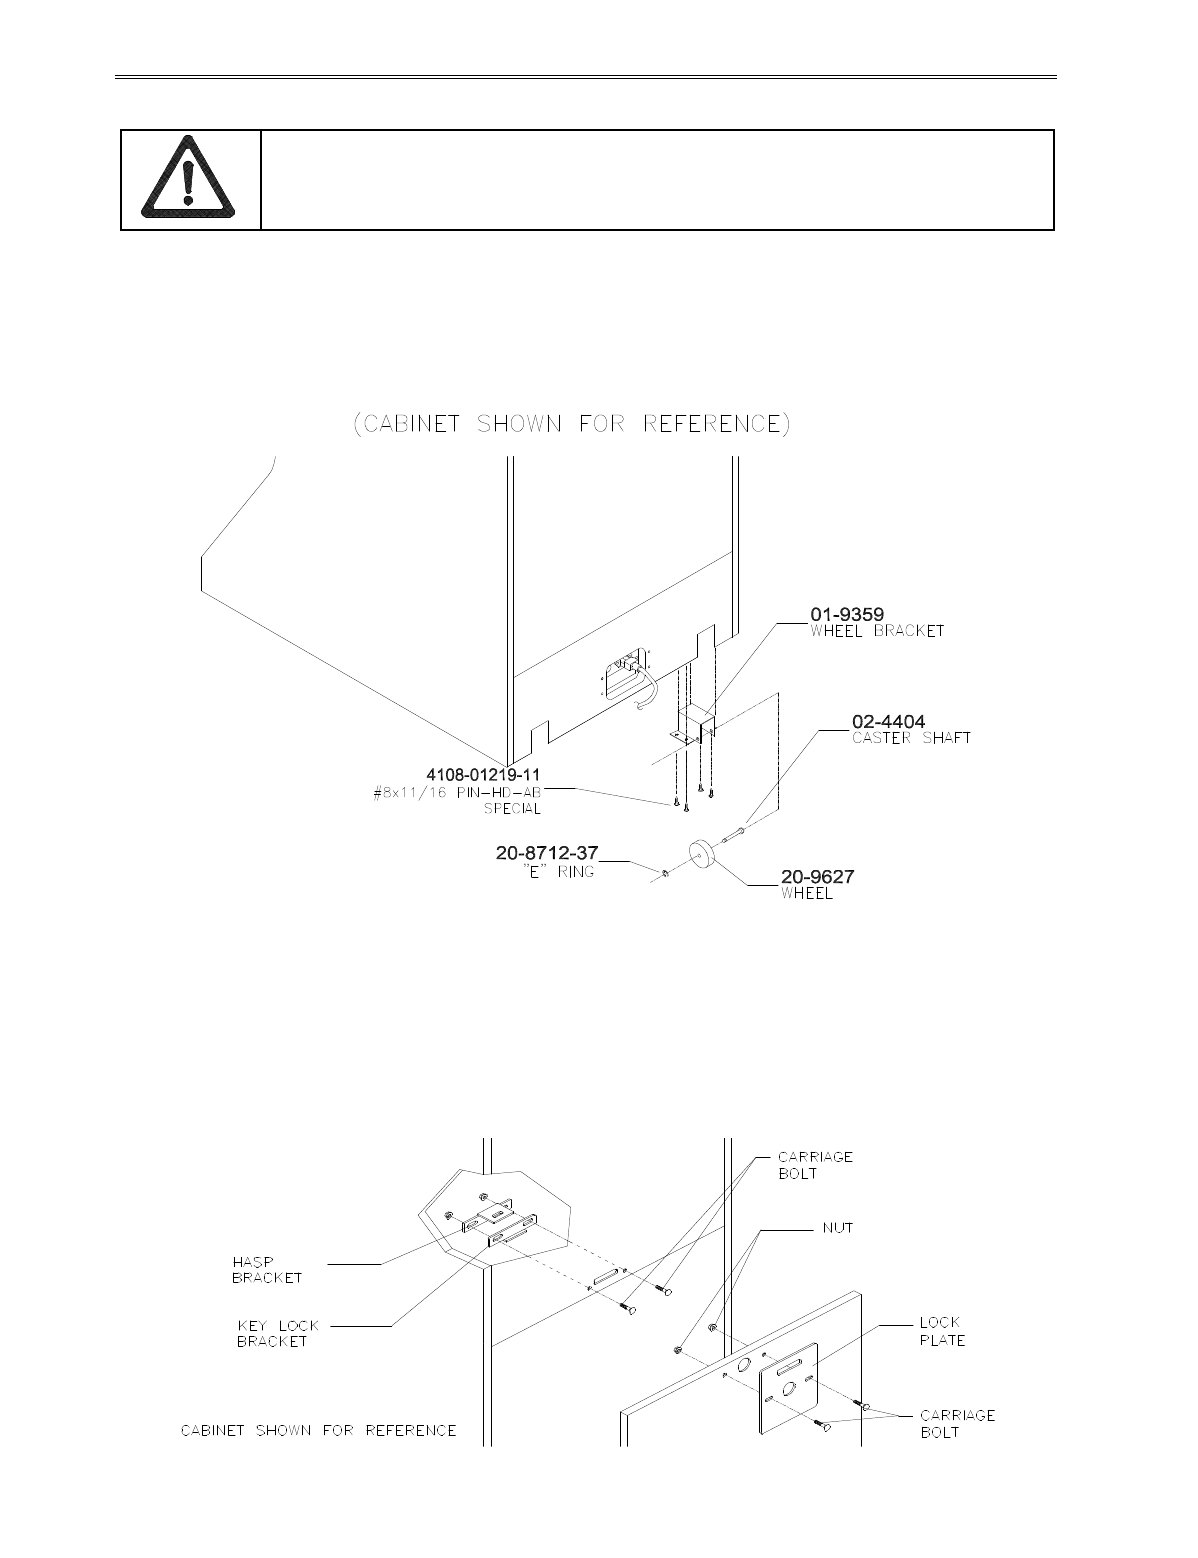
INSTALL CASTERS
4. Fasten caster wheels to their wheel brackets with caster shafts and e-rings. Mount the two wheel
brackets to the bottom-rear of the game cabinet. Each bracket requires four screws.
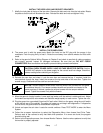
5. Install one nut onto each leg leveler. Tilt as needed to locate four threaded holes under the cabinet.
Install a leveler and nut into each hole. Do not tighten nuts at this time.
6. You can install an extra padlock to secure the rear door. You’ll find a hasp in the spare parts bag.
Remove the two lock bracket nuts from inside the cabinet, above the rear door opening. Slide the
hasp onto the bolts so that it protrudes from the hole in back of the cabinet. Reinstall nuts and tighten.