


Chapter 4
Advanced Configuration
8
Dual-Band Wireless-N Gaming Adapter
Chapter 4:
Advanced Configuration
For details on connecting and installing the Adapter,
please refer to the Quick Installation. This chapter will
describe each screen of the web-based utility and each
screen’s key functions.
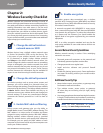
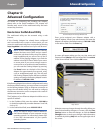
How to Access the Web-Based Utility
The web-based utility can be accessed using a web
browser.
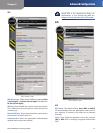
If the Gaming Adapter has already been configured
and is associated with a router or access point, you can
access the web-based utilty from a computer by entering
http://wga600n in the address bar of your web browser.
NOTE: If the IP Address Mode of the Gaming
Adapter has been set to DHCP and you cannot
access the web-based utility using the address
http://wga600n and you are not sure of the IP
address of the Gaming Adapter, try to find the
address in the DHCP Clients Table of your router
or access point. If you are not using a router or
access point or are unable to locate the address,
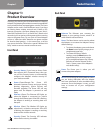
you can reset the Gaming Adapter by pressing
the Reset button on the back of the Gaming
Adapter for approximately five seconds, using
a pin or straightened paper clip. This will reset
the Gaming Adapter back to the factory default
settings and assign the Gaming Adapter a static
IP address of 192.168.1.250.
If the Gaming Adapter has not been configured and is using
the factory default settings, you must connect a computer
to the Gaming Adapter using an Ethernet connection to
access the web-based utility. You will need to configure
the Ethernet connection on the computer with a static IP
address and subnet mask.
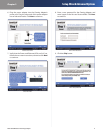
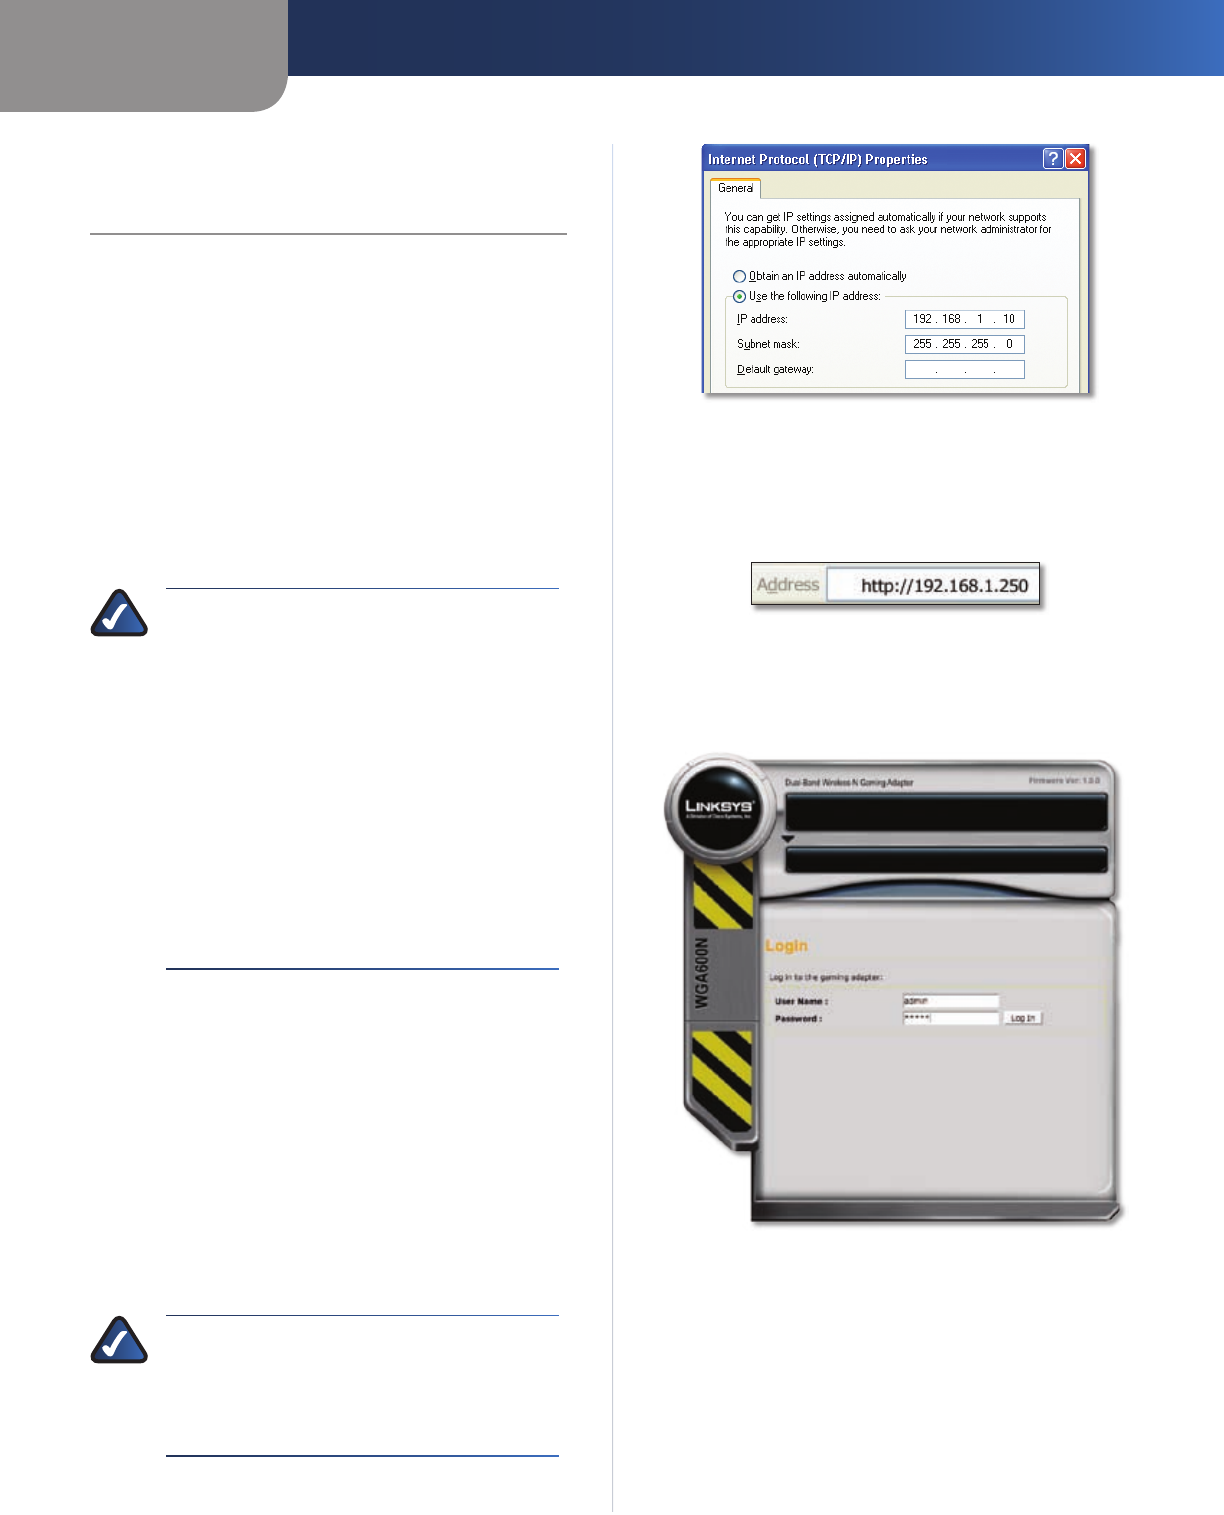
The IP address of your Ethernet adapter should be set to a
specific IP address.
In the IP address field, enter the address 192.168.1.x
(x should be replaced by a number between 2 and 240,
such as 10).
In the Subnet Mask field, enter 255.255.255.0.
NOTE: The steps to assign a static IP address to
the Ethernet adapter on your computer vary by
operating system. For instructions, please refer
to the help documentation of your specific
operating system.
1.
2.
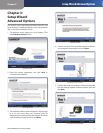
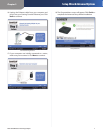
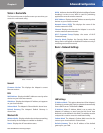
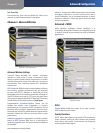
Ethernet Adapter IP Settings (Windows XP)
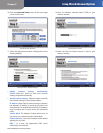
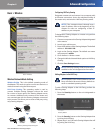
Once you’ve assigned your Ethernet adapter with a
static IP address, launch your web browser, and enter the
Adapter’s IP address (the default setting is 192.168.1.250)
in the Address field. Press the Enter key.
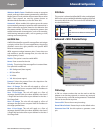
Internet Explorer Address Bar
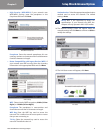
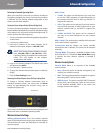
A screen will appear asking you for your User name and
Password. Enter admin in the User Name field. Enter admin
in the Password field. Then click the OK button.
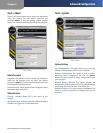
Login Screen
Make the necessary changes through the utility. When you
have finished making changes to a screen, click the Save
Settings button to save the changes, or click the Cancel
Changes button to undo your changes. Help information
is available by clicking Help link on the upper right side of
the screen.