58
Note: If you don’t know the
IP address, print a network
setup page and look under
the TCP/IP heading. For
help, see “Printing a network
setup page” on page 53.
b Enter the IP address in the text box.
c Click Add Port.
10 Click Done until you return to the Method of Connection screen.
11 Select the newly-created port from the list, and then select the
model of the printer you want to install.
12 Click Finish to complete the installation.
13 Print a test page to verify printer installation.
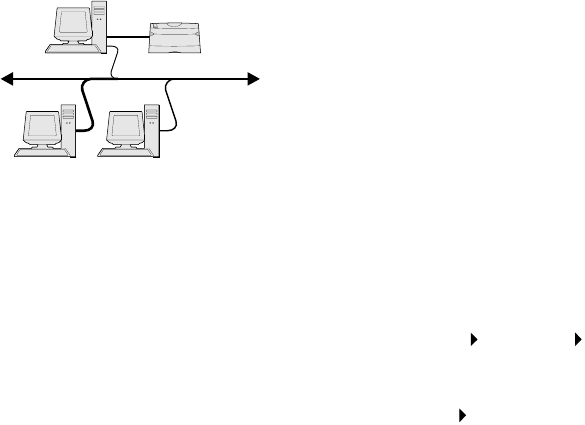
Shared printing from a
server using
Windows NT 4.0,
Windows 2000,
Windows XP, and
Windows Server 2003
After connecting your printer to a Windows NT 4.0, Windows 2000,
Windows XP, or Windows Server 2003 computer (which will act as a
server), follow these steps to configure your network printer for shared
printing:
Step 1: Install a custom printer driver
1 Launch the drivers CD.
2 Click Install Printer and Software.
3 Click Printer.
4 Click Agree to accept the license agreement.
5 Select Quick install, and then click Next.
6 Select the desired port from the list, and then select the model
of the printer you want to install.
7 Click Finish to complete the installation.
8 Print a test page to verify printer installation.
Step 2: Share the printer on the network
1 Click Start Settings Printers.
2 Select the printer you just created.
3 Click File Sharing.
4 Check the Shared check box, and then enter a name in the
Shared Name text box.
Server
Clients
Printer


