


39
Replacing the hard disk
US
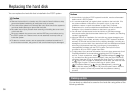
Replacing the hard disk
Caution
For safety reasons, be sure to turn off and unplug the system before attempting
to replace the hard disk.
When replacing the hard disk, follow the procedure below to remove
the metal frame.
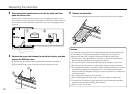
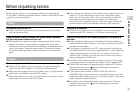
1 Using a crosshead screwdriver, remove the screws (4 places).
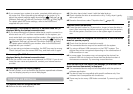
2 Hold the hard disk by the edges, and then turn it over.
Grasp firmly by the opening on
either side to prevent slipping.
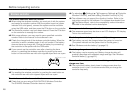
3 Remove the hard disk from the metal frame.
4 Place the replacement hard disk on the metal frame for the
PS3™ system’s hard disk, and then attach using the screws
(4 places).
Do not overtighten the screws.
5 Install the hard disk in the system.
Refer to the instructions in "Removing the hard disk" ( page 37) and follow
the steps in reverse order when installing. Be sure to fully insert the hard disk
in the HDD bay.
6 Reinstall the system software.
After the hard disk has been replaced, the system software must be
reinstalled (
page 40).
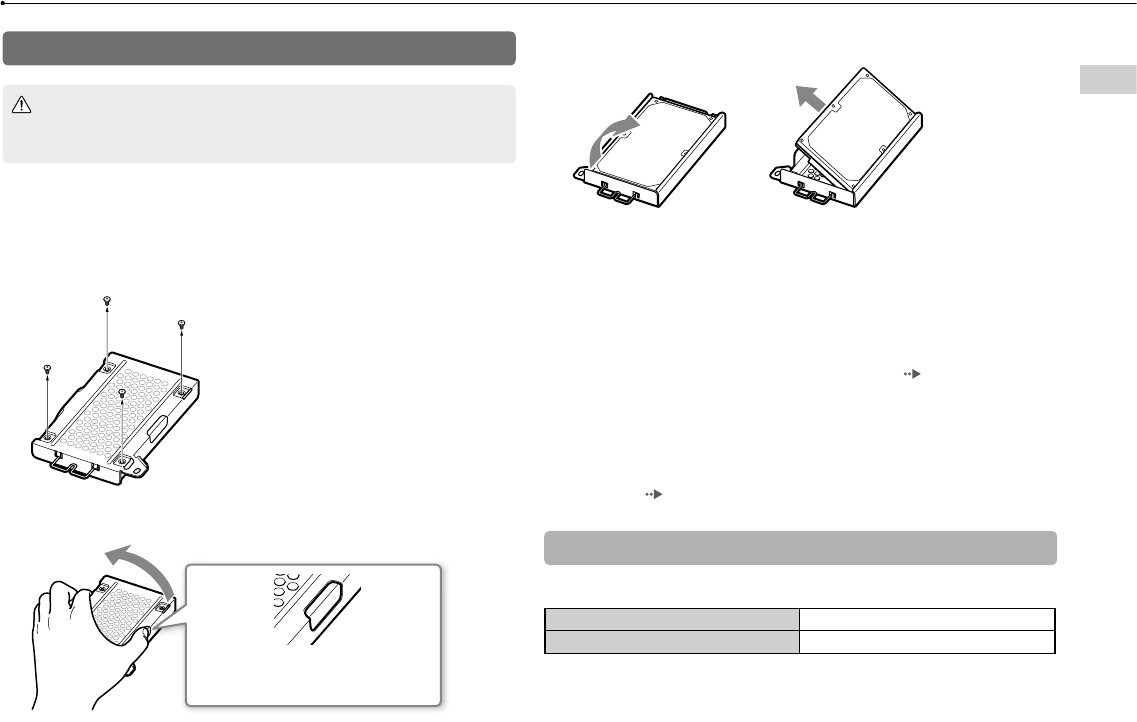
Replacement hard disks
You can use hard disks of the following types with the PS3™ system.
Size
2.5 inch (internal type) *
1
Interface format
Serial ATA *
2
*
1
Proper operation is not guaranteed for all models.
*
2
Parallel ATA is not supported.