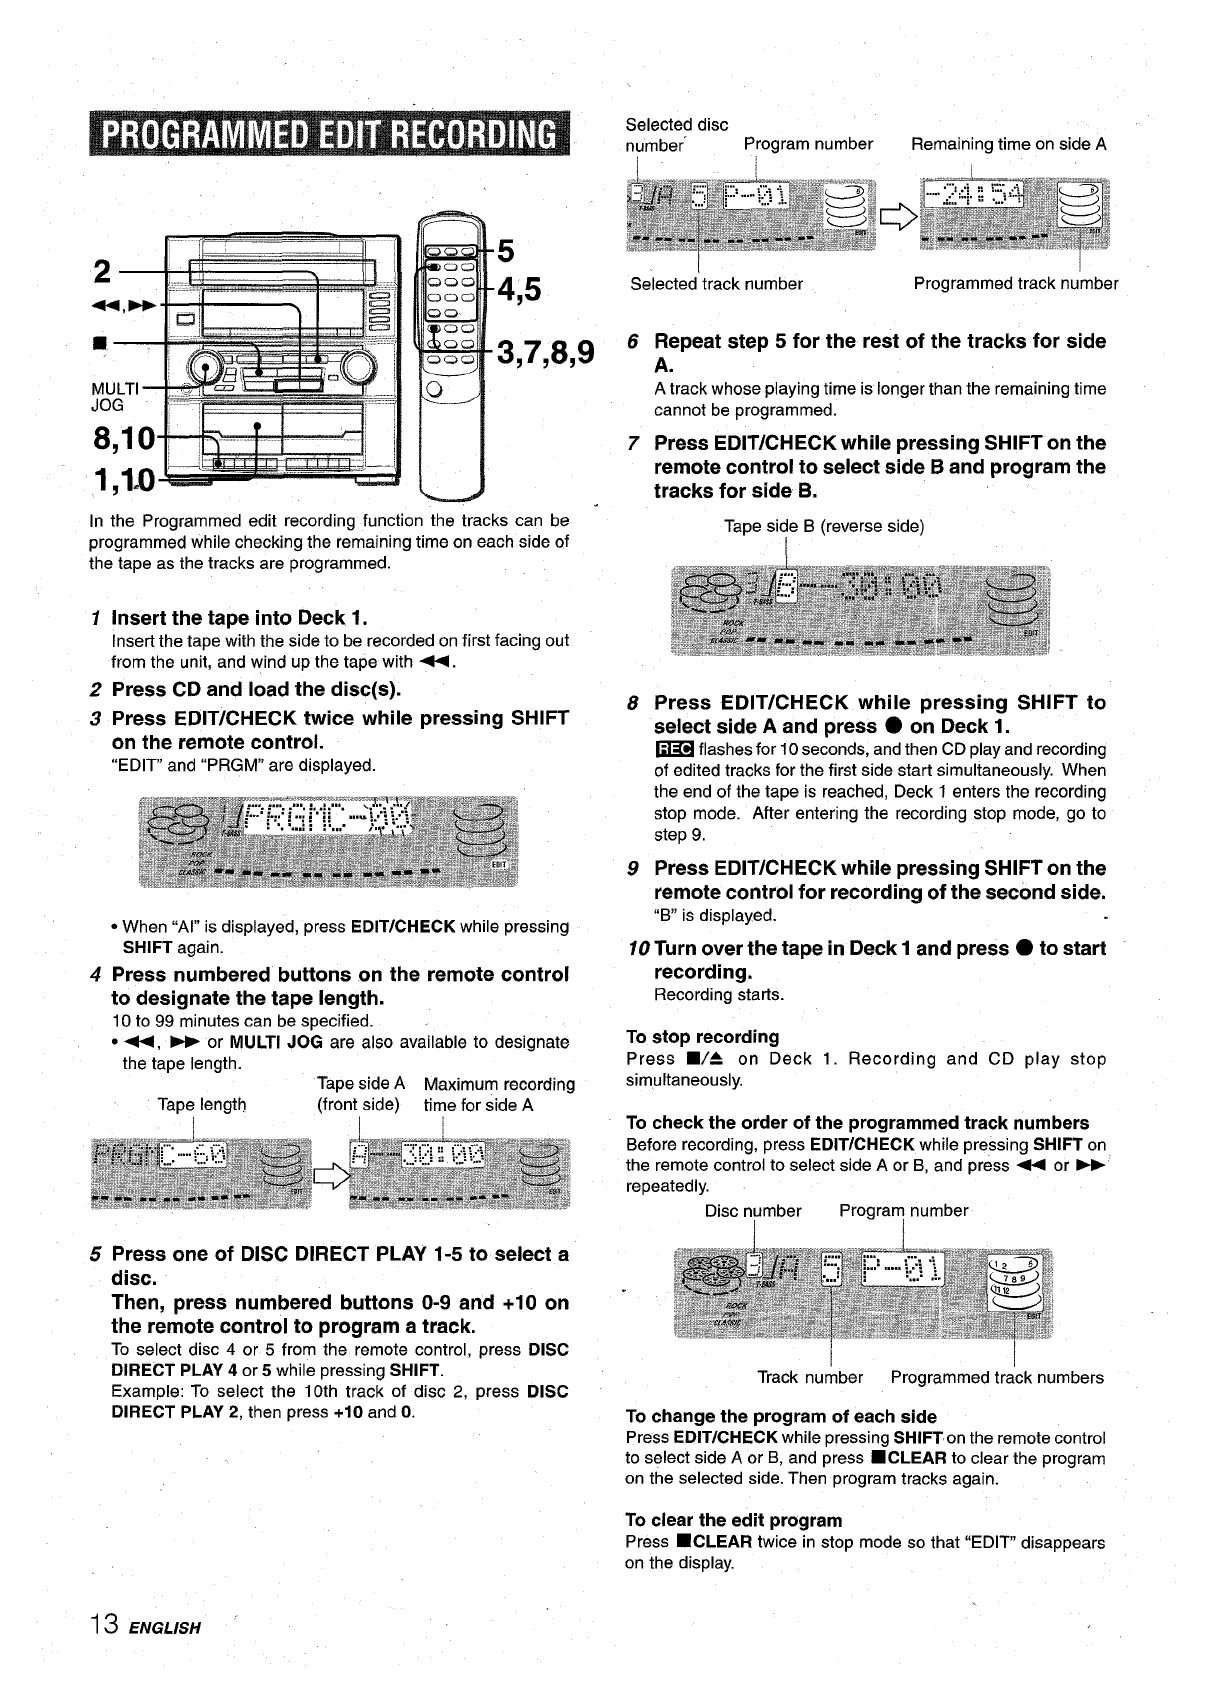
5
4,5
3,7,8,9
In the Programmed edit recording function the tracks can be
programmed while checking the remaining time on each side of
the tape as the tracks are programmed.
1
2
3
4
Insert the tape into Deck 1.
Insert the tape with the side to be recorded on first facing out
from the unit, and wind up the tape with -.
Press CD and load the disc(s).
Press EDIT/CHECK twice while pressing SHIFT
on the remote control.
“EDIT” and “PRGM” are displayed.
● When “Al” is displayed, press EDIT/CHECK while pressing
SHIFT again.
Press numbered buttons on the remote control
to designate the tape length.
10 to 99 minutes can be specified.
● +, - or MULTI JOG are also available to designate
the tape length.
Tape side A Maximum recording
Tape length
(front side)
time for side A
5 Press one of DISC DIRECT PLAY 1-5 to select a
disc.
Then, press numbered buttons O-9 and +1O on
the remote control to program a track.
To select disc 4 or 5 from the remote control, press DISC
DIRECT PLAY 4 or 5 while pressing SHIFT.
Example: To select the 10th track of disc 2, press DISC
DIRECT PLAY 2, then press +10 and O.
Selected disc
number
Program number Remaining time on side A
I
Selected’track number
Programmed track number
6
7
8
9
Repeat step 5 for the rest of the tracks for side
A.
A track whose playing time is longer than the remaining time
cannot be programmed.
Press EDIT/CHECK while pressing SHIFT on the
remote control to select side B and program the
tracks for side B.
Tape side B (reverse side)
Press EDIT/CHECK while pressing SHIFT to
select side A and press
● on Deck 1.
~
flashes for 10 seconds, and then CD play and recording
of edited tracks for the first side start simultaneously. When
the end of the tape is reached, Deck 1 enters the recording
stop mode. After entering the recording stop mode, go to
step 9.
Press EDIT/CHECK while pressing SHIFT on the
remote control for recording of the second side,
“B
is displayed.
10 Turn over the tape in Deck 1 and press ● to start
recording,
Recording starts.
To stop recording
Press W= on Deck 1. Recording and CD play stop
simultaneously.
To check the order of the programmed track numbers
Before recording, press EDIT/CHECK while pressing SHIFT on
the remote control to select side A or B, and press - or W
repeatedly.
Disc number
Program number
Track number Programmed track numbers
To change the program of each side
Press EDIT/CHECK while pressingSHIFT onthe remote control
to select side A or B, and press
■CLEAR to clear the program
on the selected side. Then program tracks again.
To clear the edit program
Press
■CLEAR twice in stop mode so that “EDIT” disappears
on the display.
13 ENGLISH


