11
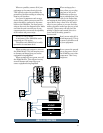
Here are some other placement tips:
• Avoid placing loudspeakers in the corners
of a room. This increases the low-fre-
quency output and can cause the sound to
be muddy and indistinct.
• Avoid placing loudspeakers against a wall.
This, too, increases the low frequency output,
though not as much as corner placement.
However, if you do need to reinforce the low
frequencies, this is a good way to do it.
• Avoid placing the active speakers directly on
a hollow stage floor. A hollow stage can
resonate at certain frequencies, causing peaks
and dips in the frequency response of the
room. It’s better to place the active speakers
on a sturdy table or tripod stands.
• Position the active speakers so the high-
frequency drivers are two to four feet above
ear level for the audience (make allowances
for a standing/dancing in the aisles audi-
ence). High frequencies are highly directional
and tend to be absorbed much easier than
lower frequencies. By providing direct line-of-
sight from the active speakers to the
audience, you increase the overall brightness
and intelligibility of the sound system.
• Highly reverberant rooms, like many gymna-
siums and auditoriums, are a nightmare for
sound system intelligibility. Multiple reflec-
tions off the hard walls, ceiling, and floor play
havoc with the sound. Depending on the
situation, you may be able to take some steps
to minimize the reflections, such as putting
carpeting on the floors, closing draperies to
cover large glass windows, or hanging
tapestries or other materials on the walls to
absorb some of the sound.
However, in most cases, these remedies are
not possible or practical. So what do you do?
Making the sound system louder generally
doesn’t work because the reflections become
louder, too. The best approach is to provide as
much direct sound coverage to the audience
as possible. The farther away you are from
the speaker, the more prominent will be the
reflected sound.
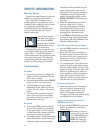
Use more speakers strategically placed so
they are closer to the back of the audience.
If the distance between the front and back
speakers is more than about 100 feet, you
should use a delay processor to time-align
the sound. (Since sound travels about 1 foot
per millisecond, it takes about 1/10 of a
second to travel 100 feet).
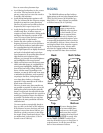
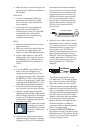
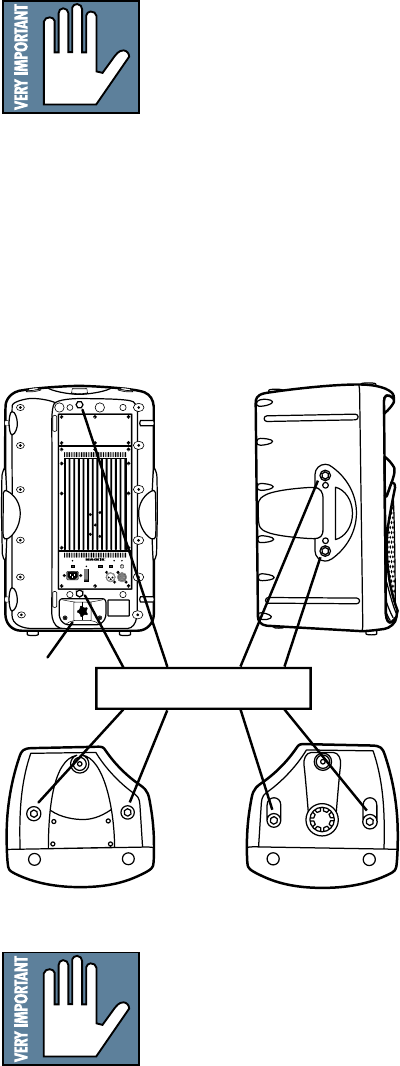
SRM450
Rigging Points
Both SidesBack
BottomTop
Pole
Mount
RIGGING
The SRM450 cabinets are fitted with ten
rigging points as shown in the diagram below.
These are M10 inserts. M10 threaded eye-
bolts (M10 x 1.5 mm x 20 mm) are available
to fit these inserts (PA-A1 Eyebolts).
WARNING: Never at-
tempt to suspend the
SRM450 active speakers
by their handles. If you
want to suspend them,
use the rigging points only. Consult a pro-
fessional rigger or structural engineer prior
to suspending loudspeakers from a structure
not intended for that use. Always know the
working load limit of the structure support-
ing the loudspeaker array. Always make
sure that the rigging hardware minimum
rating is at least five times the actual load.
If you are hanging them
in an inaccessable place,
such as over a lion’s cage,
make sure that you first
complete the sound check
and set the SRM450 LEVEL correctly. Also
set the TIMED TURNOFF switch if you
want the SRM450 to turn on when there is
a signal present. It will also turn off after
three or more minutes of silence.


