TPL-4052E User’s Guide Securing Your Powerline Network
© Copyright 2013 TRENDnet. All rights reserved.
8
Changing the network name and associang two Powerline
Adapters:
Note: Use the Sync buon procedure below if you are connecng
TRENDnet Powerline models TPL-401E, TPL-402E, TPL-405E , TPL-406E ,
TPL-407E or TPL-4052E.
1. Verify that all Powerline Adapters are already installed and
connected using the default network name, see “Installing Your
Powerline Adapter” on page 5.
Prepare your adapters:
2. On one of the connected Powerline Adapters, push and hold the
Sync buon for 15 seconds and then release it. All LEDs will turn o and
turn back on. This will erase the current network name assigned to the
rst Powerline Adapter.
Note: Once you have completed this step, the other Powerline Adapter
will no longer be able to communicate to this Powerline Adapter.
3. On the other Powerline Adapter, push and hold the Sync buon for
15 seconds then release it. All LEDs will turn o and turn back on. This
will erase the current network name assigned to the second Powerline
Adapter�
Start associaon:
4. Within 2 minutes, push and hold the Sync buon on the rst
Powerline Adapter for 2 seconds and then release it. The Power (PWR)
LED will start blinking. This will generate a random network name on
the rst Powerline Adapter.
5. Push and hold the Sync buon on the second Powerline Adapter
for 2 seconds and release it. The Power (PWR) LED will start blinking.
This will create a connecon between both Powerline Adapters using
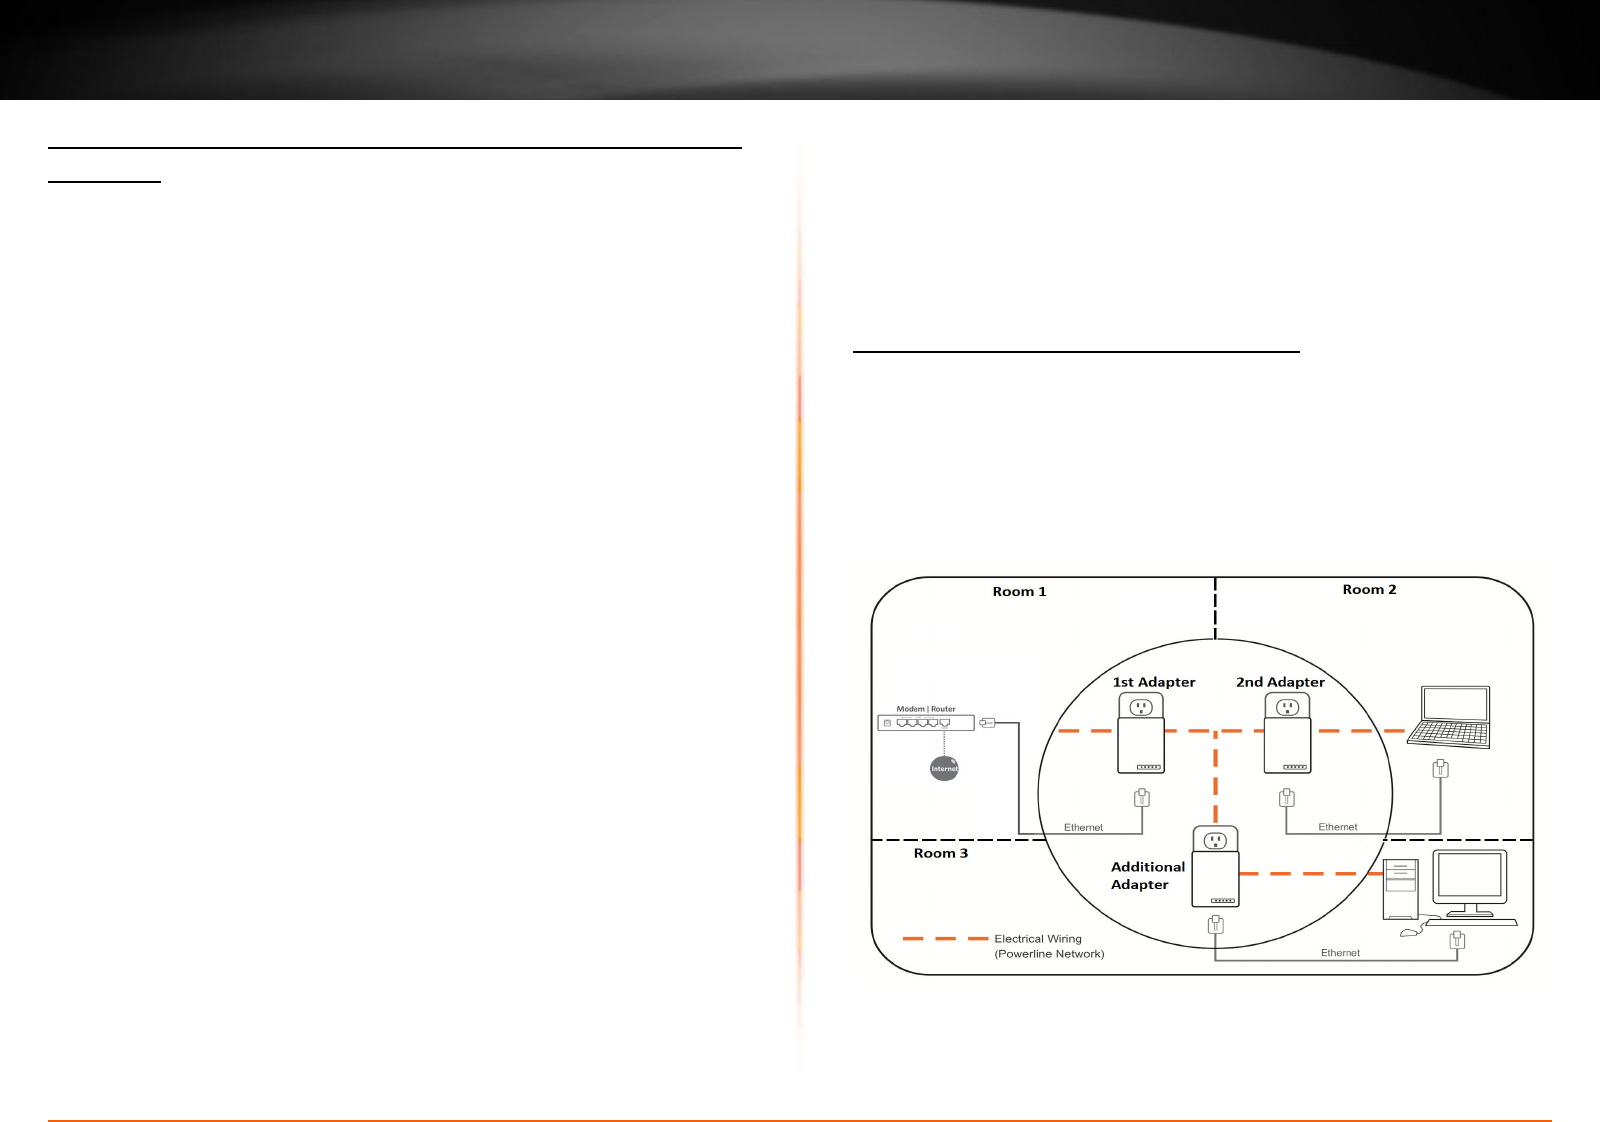
Adding adapters using the Sync buon
If you have changed the default network name assigned to your
Powerline Adapters, addional adapters will not automacally connect
to your powerline network aer they are plugged into a wall power
outlet. You have to change the network name on addional Powerline
Adapter in order to join your exisng powerline network.
the new network name. All LEDs will turn o and turn back on and the
Powerline (PL) LED will turn on the when adapters are connected.
