CHP. 11 APPLYING EFFECTS
173
3.
Drag the plug-in(s) from the Plug-In Manager window to the Plug-In Chainer window. The selected plug-
in(s) are added to the chain and can be configured and arranged as needed.
Tip:
You can also drag plug-ins or a plug-in chain from the
Plug-In Manager window to a data window. Sound Forge
opens the Plug-In Chainer window with the selected effects in
a new chain.
Selecting the processing mode for audio tail data
Some effects, such as Reverb or Simple Delay, create a “tail” at the end of the selected audio. This tail
consists of the echo or reverb created by the effect that lasts beyond the end of the selection. When you
select a portion of a file and apply the effect using the Plug-In Chainer, you can select one of three buttons
to determine how Sound Forge processes the audio tail:
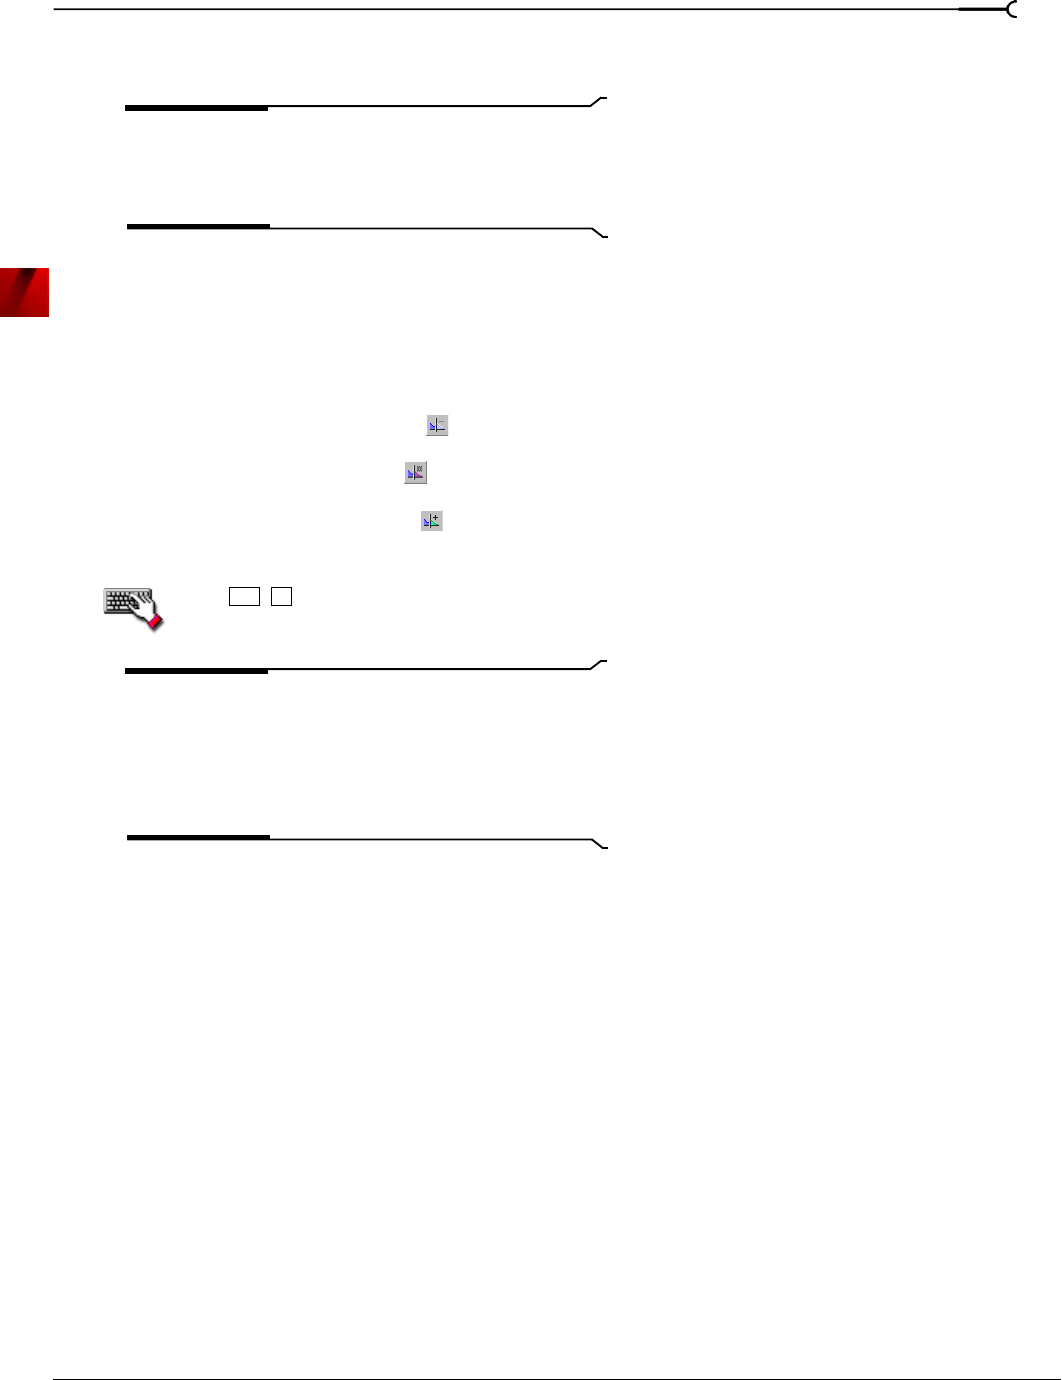
• Select the
Ignore Tail Data button ( ) to ignore the tail. The effect ends abruptly at the end of the
selection.
• Select the
Mix Tail Data button ( ) to mix the tail into the adjacent material. This is the most natural-
sounding option.
• Select the
Insert Tail Data button ( ) to insert the audio tail. All audio to the right of the tail moves over
to accommodate the extra audio.
Press
+ to toggle through the three audio tail data processing modes.
Note:
The Insert Tail Data and Mix Tail Data commands
may not function when using third-party reverb plug-ins.You
can use the
Insert Silence command to make room for the
tails or apply the reverb in a new data window that has room
for the tails and then mix the processed audio back into your
source file.
Ctrl
T


