8 Follow the instructions on the computer screen to complete the software installation.
Note: Basic is the recommended path to choose. Choose Advanced only if you want to customize your
installation.
9 To allow other computers on the wireless network to use the wireless printer, follow steps 2 through 6 and step 8
for each computer.
Installing the printer on a wireless network (Macintosh)
Prepare to configure the printer
1 Locate the printer MAC address on the sheet that came with the printer. Write the last six digits of the MAC address
in the space provided below:
MAC address: ___ ___ ___ ___ ___ ___
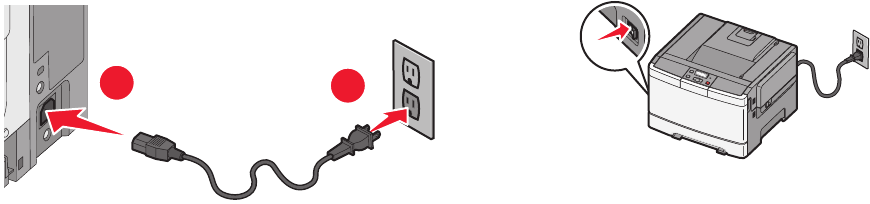
2 Connect the power cable to the printer and then to a properly grounded electrical outlet, and then turn the printer
on.
1
2
Enter the printer information
1 Access the AirPort options.
In Mac OS X version 10.5 or later
a
From the Apple menu, choose System Preferences.
b Click Network.
c Click AirPort.
In Mac OS X version 10.4 and earlier
a
From the Finder desktop, choose Go > Applications.
b From the Applications folder, double-click Internet Connect.
c From the toolbar, click AirPort.
2 From the Network pop-up menu, select print server xxxxxx, where the x’s are the last six digits of the MAC address
located on the MAC address sheet.
3 Open the Safari browser.
4 From the Bookmarks drop-down menu, select Show.
Additional printer setup
28


