11
HI 9110 HI 9210 HI 9210N
Range pH 0.00 to 14.00 pH
°C — 0.0 to 70.0 C
Resolution pH 0.01 pH
°C — 0.1 C
Accuracy pH ±0.02 pH
(@20°C/68°F) °C — ±0.5 C
Typical EMC pH ±0.05 pH ±0.02 pH
Deviation °C — ±0.5 C
Calibration Manual 2 points through trimmers
Offset Calibration ±1 pH
Slope Calibration From 85 to 105% of nominal value
Temperature Manual 0 to 100 C Auto 0 to 70 C
Compensation (32 to 212 F) (32 to 158 F)
Electrode FC 100B HI 1230B HI 1217D
pH (incl.) pH (incl.) pH/ C (incl.)
Input Impedance 10
12
Ohm
Battery Type 4x1.5 volt, AA size (alkaline batteries);
Life 2000 hours of continuous use
Environment 0 to 50 C (32 to 122 F); 100% RH
Dimensions 196 x 80 x 60 mm (7.7 x 3.1 x 2.4")
Weight 320 g (11.3 oz.)
SPECIFICATIONS HI 9110, HI 9210SPECIFICATIONS HI 9110, HI 9210
SPECIFICATIONS HI 9110, HI 9210SPECIFICATIONS HI 9110, HI 9210
SPECIFICATIONS HI 9110, HI 9210
& HI 9210N& HI 9210N
& HI 9210N& HI 9210N
& HI 9210N
12
ON/OFF
ON/OFF
°C
°C
or
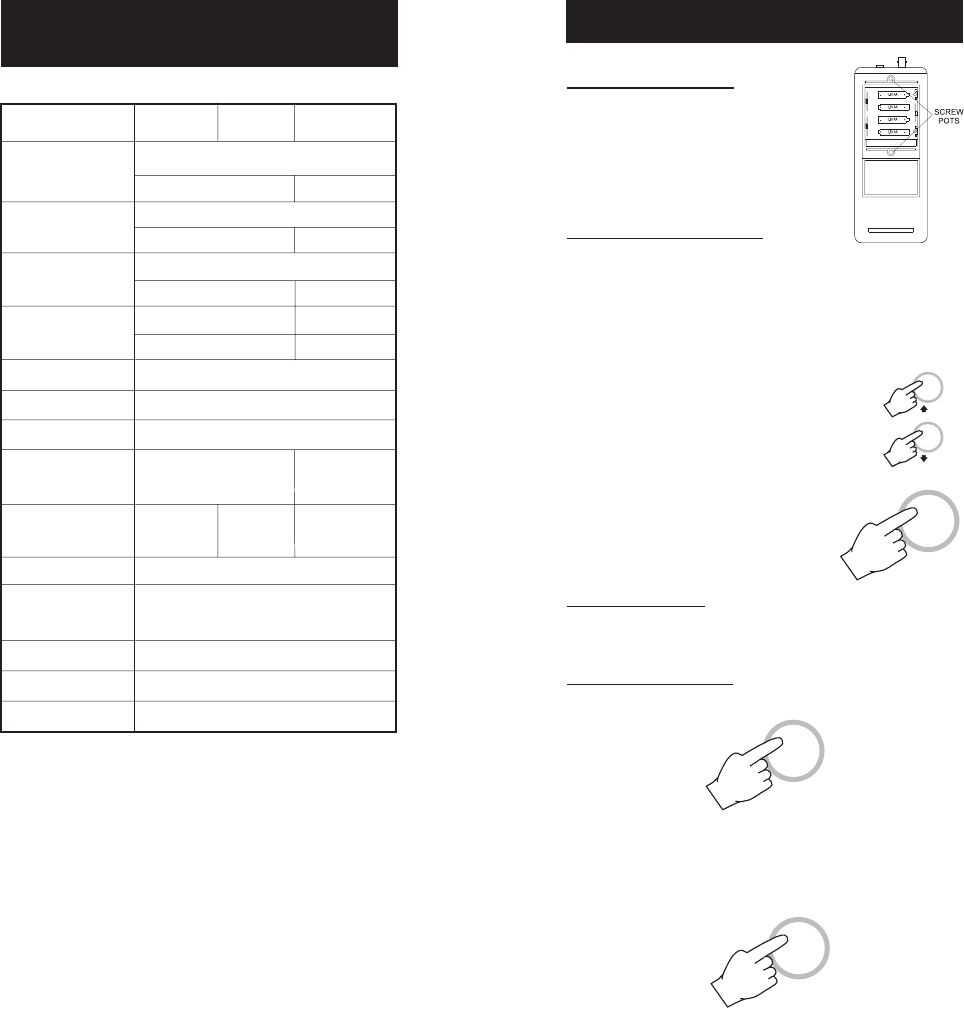
INITIAL PREPARATION
Each meter is supplied complete with batteries.
Remove the back cover, unwrap the batteries and
install them while paying attention to polarity.
HI 9023C, HI 9024C, HI 9025C:
To prepare the instrument for use connect the pH electrode and the
temperature probe to the BNC and temperature sockets on the top of
the instrument. The temperature probe can be used independently to
take temperature measurements, or it can be used in conjunction with
the pH electrode to utilize the meter's ATC capability. If the probe is
disconnected, temperature can also be set
manually with the UP and DOWN keys. To
switch the instrument on, press and hold the
ON/OFF key for a fraction of a second. The
meter has a built-in protection against electro-
magnetic interference and the delayed response
of the keys assures that the commands are not
mistaken for stray signals.
HI 9110 and HI 9210:
Connect the pH electrode to the BNC connector on the top of the
instrument and press the ON/OFF key.
HI 9210N and HI 9023CN:
Connect the pH/ C electrode to the DIN connector on the top of
the instrument and press the ON/OFF key.
OPERATIONAL GUIDEOPERATIONAL GUIDE
OPERATIONAL GUIDEOPERATIONAL GUIDE
OPERATIONAL GUIDE
ON/OFF


