


22
23
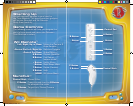
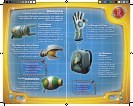
DISASSEMBLER
Normal Fire Mode: Press the C Button, then
the B Button to activate.
Alternate Fire Mode: Press the C Button, then
the B Button to activate. Moving the targeting
reticle with the Wii Remote while holding the
C Button allows you to aim.
SCANNER
Basic Mode: Display info on the object that
the Scanner is locked onto. Press the assigned
direction of the +Control Pad, then the
B Button to fire.
Information Mode: Press B Button when
not locked onto anything to do an area scan,
so you can see how you can interact with objects
in your environment.
CHARGEBALL GLOVES
Normal Mode: Press assigned direction on
the +Control Pad
Alternate Fire Mode: Press and hold C Button
on the Nunchuk. Release Button to fire.
HAVOC GLOVES
Normal Mode: Press the C Button and
then hold down the B Button to burrow.
Burrow Mode: Press the C Button
and then hold down the B Button to burrow.
Release button to resurface.
You can also use the Control Stick to direct
Wilbur underground.
LEVITATION RAY
Normal Mode: Press the assigned direction
on the +Control Pad to select the gadget,
then press the B Button to fire it.
Note: Not all items can
be levitated.
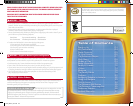
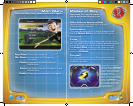
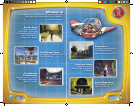
Using the
Gadgets
Want to destroy your opponents
with ease? Then use this helpful
guide for proper Robinson gadget use.
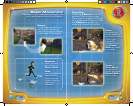
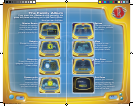
Assigning Gadgets
to Buttons
The gadgets can be mapped left, right, and up on
the +Control Pad. This can be done in two ways:
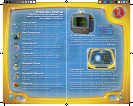
The Gadget Screen
in the Family Album
Press the + Button
to bring up the
Family Album and
select the Gadget
screen. Press the
A Button to go to
the Assignment
screen. Press left,
right, or up on the
+Control Pad to
assign the gadget.
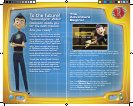
Quick Swap
Press the - Button
to bring up the Quick
Swap menu. While
the menu is up, aim
the Wii Remote to
move the Targeting
reticule to the gadget
you want to assign.
While the gadget is
selected press the
button you wish to
assign it to.
MTR_Wiimnl_V5.indd 22-23 2/1/07 3:22:39 PM